20 December 2017

MFT WEEKLY SKETCH CHALLENGE - WSC 364

Anyone still making Christmas cards?

Well, here is a clean and simple design using this weeks sketch for inspiration:


The Bitty Bears were stamped with Hybrid Grout Gray and coloured with pale blue and grey Copic markers on Copic suitable card.

COPIC COLOURS:
B0000, C00, C0, C1, C2, C3, C4, C6

The A2 card was made with MFT Smooth White cardstock.  It was then dry embossed using a Stitched Square die on a die cutting machine.  The lower band was manually drawn with a ruler and embossing tool.  This area was then coloured with Copics to create faux ribbon.  Once dry, the sentiment was stamped with Versamark ink and heat embossed with White Embossing power.  For a final touch, snow-like pattern was created using a white gel pen.

To add a little dimension and interest to an otherwise plain card the bears were mounted on to the card with foam squares.

Here is the sketch so that you can play along and maybe you will be the lucky winner of the $50 MFT voucher.


Thanks for dropping by and good luck to all who enter.


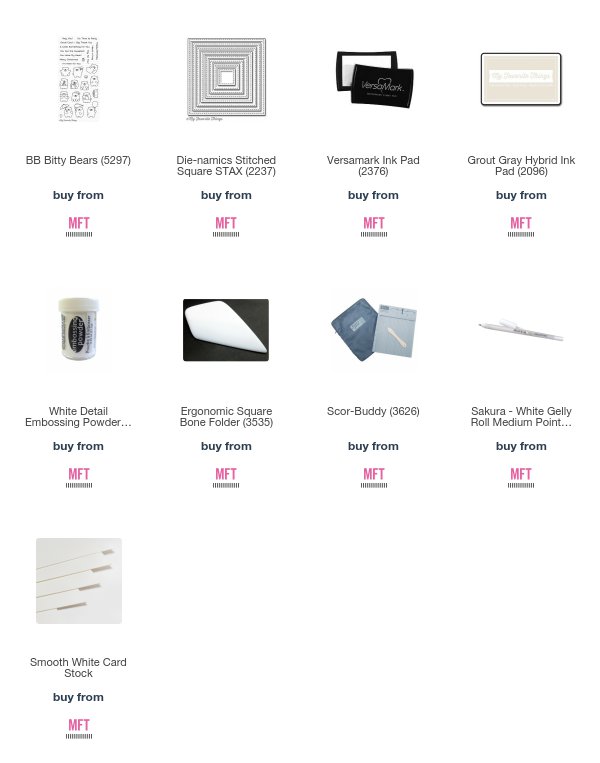
SUPPLIES:

SQUIRREL IN WINTER - CHRISTMAS CARD 2017

Hello there, did you manage to get all your Christmas cards made?

I had a brainwave last year when I realised that it was going to be impossible for me to make individual cards for everyone.  So I hit on the idea of drawing and colouring my own design, which I could then replicate.  OK, that meant stretching myself to do my first ever fine art piece of Copic work, but I did it and saved myself from, heaven forbid......buying cards!

This year, I just had to decide on the subject matter and it was whilst I was pondering that my Westie, Pip went tearing down the garden chasing after our local squirrel.........lightbulb moment!

Last year I didn't dare take photo's as I worked for fear of goofing, but this year I managed to tear myself away long enough to take a couple:


Having sketched out the squirrel, I started with the greenery in the background before turning my attention to that rather fiddly log the squirrel is perching on.  Oh, not to mention snow, which as I discovered last year is not white.  The knack is to colour the shadows, to give the impression of depth, rather than leaving areas of blank white space.


His fur was a challenge too, its made up of so many shades of red and grey, but as I built up the layers  the little guy started to take shape.  He looked so much better when I gave him two eyes, I almost felt him watching me as I continued, steadily to add his fur.

And, now for the final photograph - for my Christmas card prints, I used a scanned image as I did last year.  But in honesty my new Canon camera did a fab job, so next year I may skip the scan.  Anyway, enough waffle, I'm sure some of you have already moved on to the final picture...............


His bushy tail was wispy and I hope I've managed to capture that.  I opted for a simple background, lets face it, it's the squirrel that should have centre stage after all.

I have actually entered this little chap into the Copicaward.com competition, but he is up against some awesome competition.............whatever the outcome, I am chuffed to bits with my tufty little boy!

Happy Christmas everyone and I wish each and every one of you all the best for 2018

6 December 2017

MFT RELEASE DAY - DECEMBER 2017

It's that day so many of you have been waiting for.......
MFT December 2017 Release Day!!

You should know me by now, faces are my favourite thing to colour, so I could not resist making another card using the re-released Birdie Brown "You're Super" stamp.


The background was created by masking off the bottom portion of a piece of card with post it tape, allowing for the top section to be inked with Distress Oxides.  Have you tried these yet?  They blend beautifully, but be prepared to get inky fingers........or was that just me being messy.
The water section was done in the same way, ensuring that this was a little greener than the sky. It was then spritzed with water to give it texture.  By adding Frayed Burlap ink at the very bottom, an area on which the little girl could stand was created.

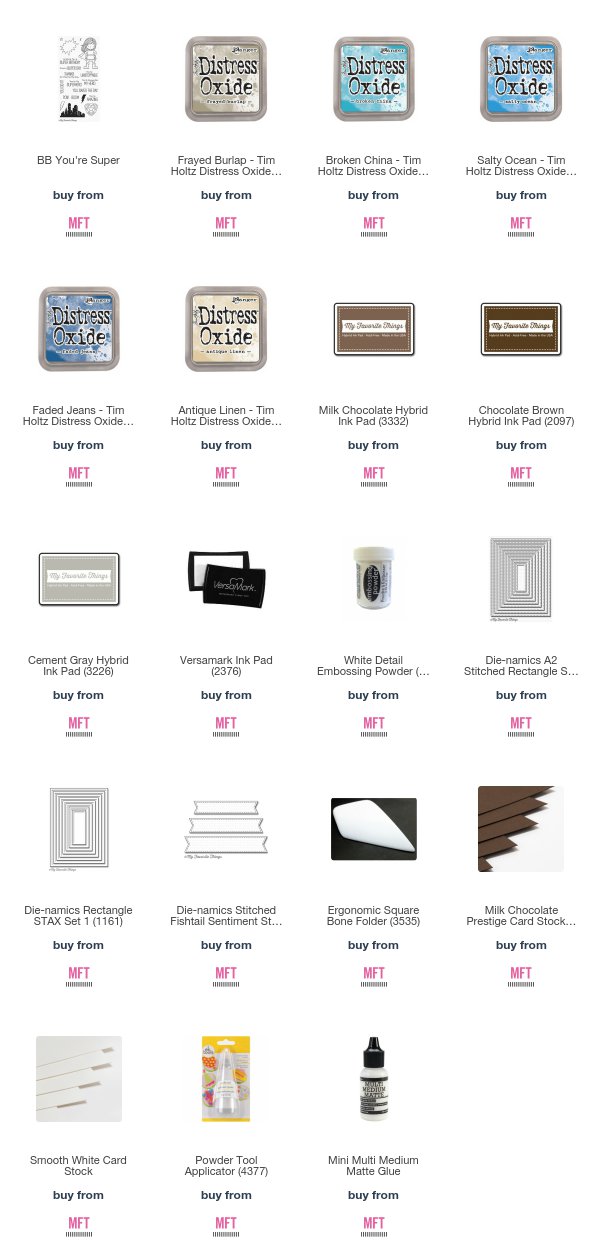
Once dry, the cityscape from the You're Super stamp set was stamped on to the cardstock with MFT Hybrid ink and highlights and shadows were added with Caran D'Ache Luminance pencils.  They were used to create the reflections in the water too.  The background was then cut out using a die from the A2 Stitched Rectangle Stax and mounted on to a piece of Milk Chocolate card cut from the A2 Rectangle Stax........these are definitely my go to dies for card making!

Supergirl was stamped with MFT Hybrid Cement Gray ink on Copic suitable card and coloured with Copics.

COPIC COLOURS:
Skin: E0000, E000, E00, E40, E41, E42, W1, R20
Eyes: B93, B97
Cape: R24, R29, R39, RV69, RV99
Suit: B24, B26, B29, B37, B39, Y35, Y26, Y28, W2, W3, W4, W6
Boots: R24, R29, R39, RV69, RV99, W4
Hair: E11, E13, E15, E17, W4, W6

As for the sentiment, the wording was stamped with Versamark ink on heat resistant vellum and heat embossed with white embossing powder.  It was then cut out with a Stitched Fishtail Sentiment Strip.

Having glued the background to the A2 card base, foam squares were used to adhere Supergirl to the scene - it was only fair she should stand out on her card!

at 

Thanks for dropping by and don't forget to leave a comment for your chance of winning a $100 MFT Store Voucher.......just think how many extra crafting goodies you could buy!


SUPPLIES

3 December 2017

MFT DECEMBER RELEASE - COUNTDOWN DAY 3

Today is Day 3 of the December MFT Countdown and I have a bee-utiful card for you: 


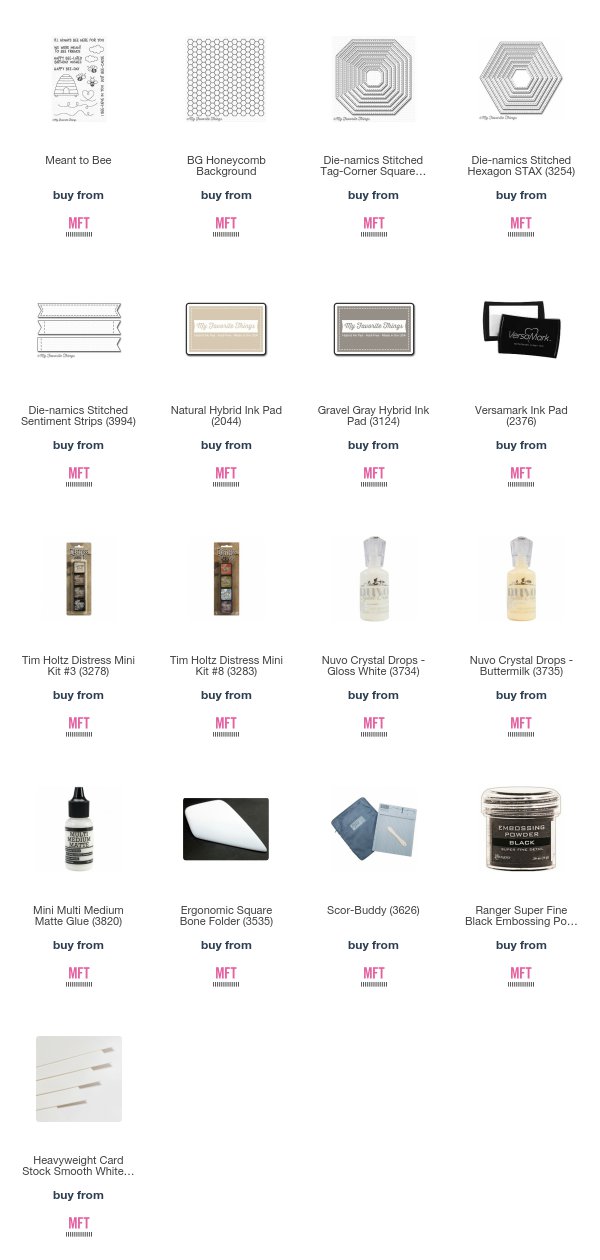
Firstly, I made a shaped card with Smooth White cardstock using the soon to be released Stitched Tag-Corner Square Stax die set. The face of the card base was stamped with the new Honeycomb Background stamp using MFT Hybrid Natural ink.  To give the card a "honey" tone, sorry couldn't resist, the edge of the card was inked with Antique Linen Distress ink.

The next layer was cut with the Stitched Hexagon Stax from more Smooth White card with the centre inked using Tumbled Glass Distress ink.

Then the bee hive from the new release was stamped on a piece of Copic suitable card with Gravel Gray Hybrid ink and coloured with Copic markers.  It was then cut out using the co-ordinating Die-Namics die.

COPIC COLOURS:
Beehive: E41, E42, E43, E44, E47, E50, E51

As for the sentiment, that was stamped with Versamark ink and heat embossed with Black embossing powder and cut out using a Stitched Sentiment Strip.

The miniature bees were created using white shrink plastic.  They were stamped with grey ink and coloured with Caran D'Ache Luminance pencils.  Once coloured, a quick blast of a heat gun shrunk them down to size, perfect for the beehive image.

Then the hexagon was glued to the card base.  The beehive and sentiment were adhered with foam squares for added dimension and the tiny bees were finally glued in to place.  As a final touch, I added small dots of Nuvo crystal drops in Buttermilk and White.

Thanks for dropping by


SUPPLIES
(NB some links will not work until day of release)

2 December 2017

MFT DECEMBER RELEASE - COUNTDOWN DAY 4

So what do you think of the new release so far?

Today I am sharing an awesome stamp that has been re-released.........
yes, You're Super is back!!

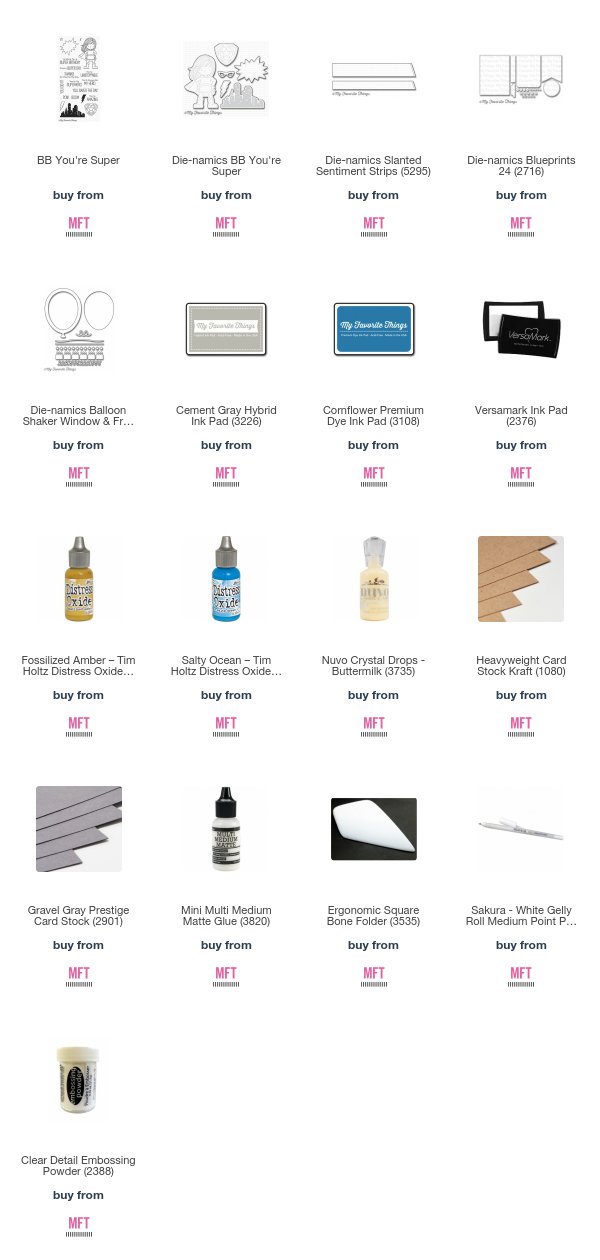
This was my chance to get inky...... Distress Oxide refills with added water and a splatter brush were used to create the splattered background.  Additional dots were made with Nuvo Buttermilk Crystal drops and die cut stars were cut from a piece of card that had been pre-coloured with coloured pencil.

The sentiment was stamped firstly with Cornflower Premium Dye ink and then Versamark, enabling the lettering to be heat embossed with clear embossing powder.  Once dry, the sentiment was cut out of Kraft and also Brown Paper cardstock, along with a small star from Blueprint 24.

As for Supergirl, she was stamped with Hybrid Cement Gray ink and coloured with Caran D'Ache Luminance pencils.

The background was adhered to an A2 Kraft card base, with an additional mount cut from Gravel Gray card.  The sentiment was glued directly to the spattered background, with foam squares used on Supergirl.


Many thanks for visiting my blog
I will be back again tomorrow with another card from our December release.


SUPPLIES
(NB some links will not work until day of release)

1 December 2017

MFT DECEMBER RELEASE - COUNTDOWN DAY 5

I guess most of us are counting down the days until Christmas, which is why I have created a special Christmas Menu card using our soon to be released Stitched Tag Corner Rectangle Stax.

I opted for white on white, so that it would fit in with everyones Christmas decor.  The card was made with an A2 top folding card made from MFT Smooth White, then with the largest die in the set I created a shaped card base.
A second, smaller Stitched Tag Corner Rectangle was cut, again from Smooth White card, but this time it was dry embossed with the next die in the set.  This gave the illusion of another layer without the excess weight.

With the aid of a piece of Post-it tape to mask off the base of the top piece of card a spritzed delicate blue background was created with Copic B000 and a Distress Marker Spritzer Tool.

Both the chef and holly were stamped on to Copic suitable card with MFT Hybrid Cement Gray ink and coloured with Copic markers.  Highlights were added with dots of White Gel pen.

COPIC COLOURS:
Holly: YG61, YG63, R24, R29, W4
Chef: B0000, C00, C0, C1, C2, W2, W4, E70, E71, YG61, YG63, E0000, E000, E40, YR30, E81, E31, R20
Background: B000

The Menu wording was cut from Smooth White card using our Stitched Alphabet, with Copic B0000 and C00 giving an hombre look to the letters.

The lettering was glued on but both Chef and holly were adhered with foam squares, to give added depth to the overall card.
As it's nearly Christmas, a touch of glitter was in order, so dots of Nuvo White Blizzard Glitter Drops were added around the Chef.


Many thanks for dropping by, 
I'll be back tomorrow with more from our imminent release.


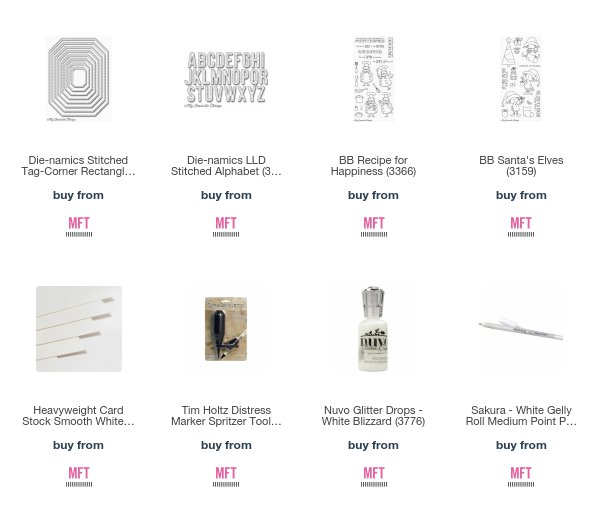
SUPPLIES
(NB some links will not work until day of release)