Oh yes, it's Release Day, but before you head off to
MFTstamps.com to fill your shopping baskets allow me to share my latest card from the February release.
I smiled when I saw this particular sentiment on the new Anything but Basic Birthday Wishes, a motto to live by if, like me, you have a sweet tooth!
So I went through my MFT stamp collection and picked out all my favourite cake images along with the new ones from the Birthday Chicks set. This card involved quite a bit of masking and layering but the finished composition was worth the effort.........I think you'll agree, it's cake heaven!
The images were stamped on to Copic suitable card with my go to ink, Hybrid Cement Gray and coloured, firstly with
Copic Markers, then coloured pencil, for additional detail.
COPIC COLOURS:
Background: YR0000, YR000, V0000, V000, V01, W0, W1
Giant Cupcake: B21, B23, B26, B32, C00, C0, C1, C2, C4, C6, E70, E71, E74, E77, E79, W8
Chick: Y11, Y21, Y23, Y26, Y28, YR24, B14, W1, W2, W3
Cake stand: C00, C0, C1, C2, C4
Hat: G12, Y32, R83, Y38, B12, W1
Small Cakes: E40, E41, E42, R20, R21, R22, W1, W2, R11, B000, BV000, G20, C00, C0, C1, E50, E51, E53, E21, E23, E27, E31, E33, E35, YR30, R0000, R000, R00, R01
As it's Release Day, please don't forget to leave a comment on my blog for your chance to win one of two $100 MFT Gift Vouchers that we are giving away, you never know it could be you.
Happy Shopping!
Oh and don't forget you can see more of my work on my
FACEBOOK PAGE and
INSTAGRAM
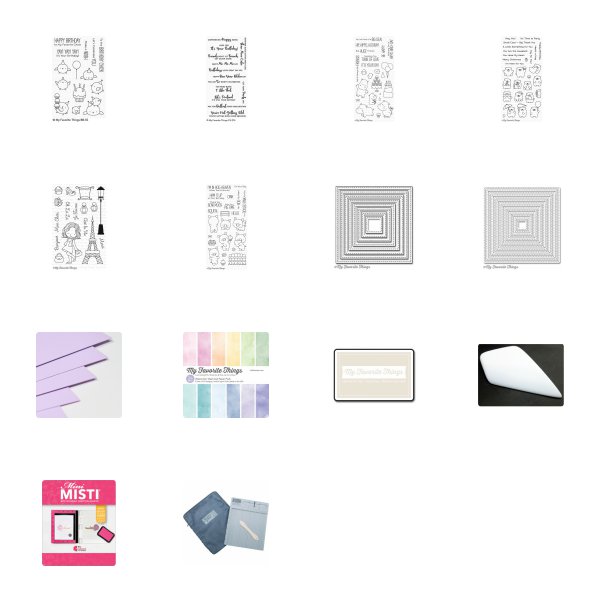
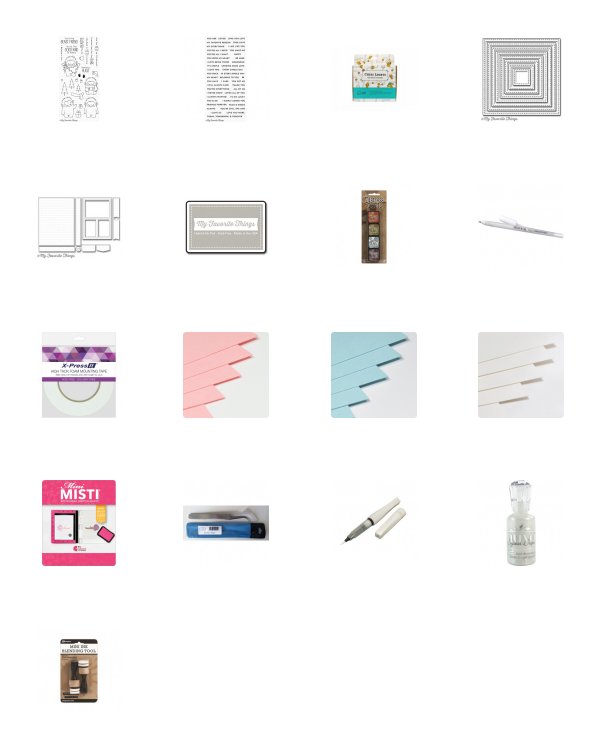
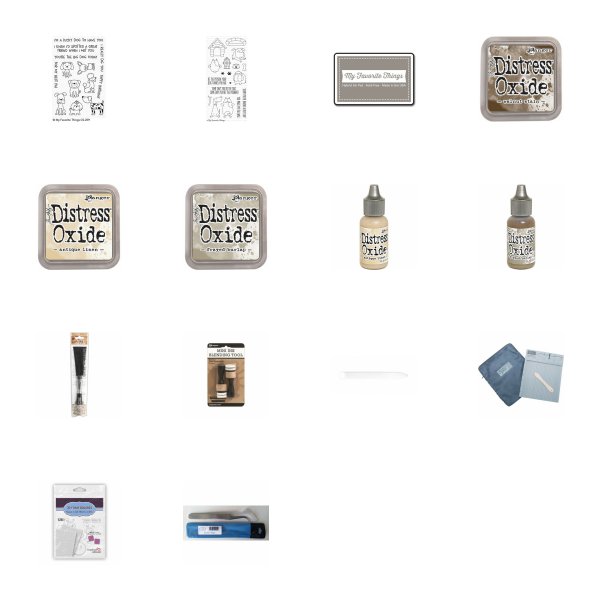
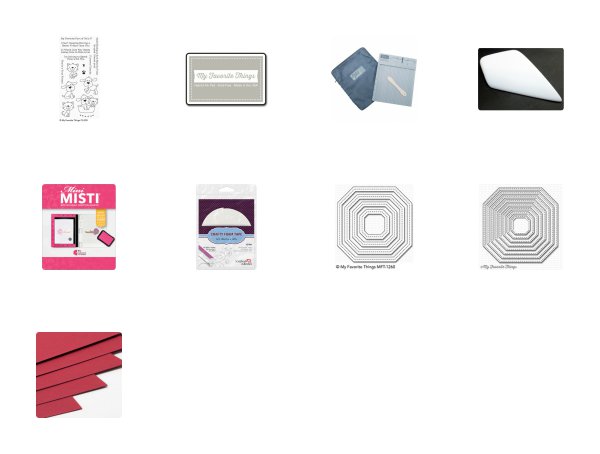
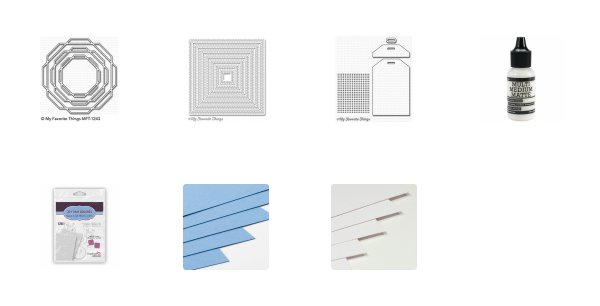
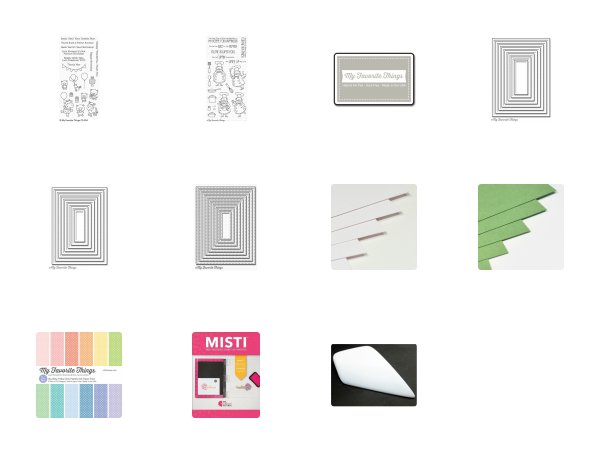
SUPPLIES: