Showing posts with label Copic Markers. Show all posts

26 March 2024

Better late than never!

 Hello everybody!

A couple of months after I posted my Stag Christmas image I was diagnosed with PVD (Posterior Vitreous Detachment) which affected my vision and I had to stop drawing. 

I am now thankfully able to get back to doing what I love, albeit I'm taking it slowly.


Back in April 2020, Caroline McFarlane-Watts from Tall Tale Productions released a free colouring page - she set it as a #talltalescoloringchallenge during lockdown.

Oh well, I'm only 4 years late!

 I had such fun colouring this and I even remembered to take some photographs along the way.


It features some of Caroline's characters, including Hortense with her creepy stole.


 I was a little rusty at first but it soon started to click again. The picture is highly detailed and it was far too fiddly for Copics alone, so I enhanced my colouring with coloured pencils (Caran D'Ache Pablos and Luminance)


As I have done in the past, I printed the image in pale grey so I could achieve that "no lines colouring" look. 


I can even see my technique improving as I moved down the page, the lower half definitely has more depth and richness of colour.
 Maybe that's why Hortense is not looking too happy!


Nearly there!


The owls were a "hoot" to colour!
But, oh boy, those curls took ages to complete.

I am pretty chuffed with the end result and it feels really good being back in the studio.


Thank you for visiting my blog today.

Until next time
Happy Colouring


13 December 2019

Allen Family Christmas Card 2019

Hello everyone, how are your Christmas preparations going?

How many crafters out there have been beavering away for months creating wonderful cards for your friends and family?  

Now, how many of you have been procrastinating and 1st December arrived along with the realisation that you don't have enough time to make all the cards.............oh that was me back in 2016!

Since then I have challenged myself to create an image each year which I use for all our family cards.

If you have been following me on Instagram then you will have seen 
my progress reports, but for those who missed them:


Part One

Having sketched out the stag from a reference image, I started on the mottled background.  You will not believe how much grey ink I got through - I needed the pens juicy and refilled several of them multiple times!


Part Two

The smooshy background was such fun to create - here's a tip.  In order to get the colours to blend well, keep the cardstock moist, almost saturated with a pale ink, that way the colours bleed in to one another and make blending with multiple shades much easier.


Part Three

Now for the Stag. 
His antlers were impressive, but the angle at which he was holding his head gave me a few challenges with regards to perspective, but I got there in the end.


Part Four

Something magical happens when you draw in the eyes and from this point on the boy was watching my every move.  His ears were fun to do - a combination of fur, fuzz and frosty bits........I really had to think outside the box to get them looking right.  But that's what I love about doing this every year - it takes me out of my comfort zone and challenges me artistically.


Part Five

Anyone who has ever coloured fur along with me in one of my classes knows I opt for the "flicking" technique.  It's literally lots of random dashes, that build up to give the appearance of hair/fur.  On this chap, I layered approx 6-7 colours, that's a lot of flicking and was somewhat painful as my hand cramped badly from doing this for several hours!
But as they say, "no pain, no gain" - the end result was worth it - a pelt to be proud of!


Part Six

I had to give my poor hand a break after colouring his hide, so I made a few adjustments to his body and then turned my attention to the snow.  When colouring snow, it's actually the shadows created by the dimples in the snow that you are colouring, it isn't pure white as you might think.


After many, many hours of colouring here is:

"Laird of the Glen"

The falling snow was created with a combination of white pencil and sharpie marker.  Initially I found the white marks made by the marker a tad too bold.  So I dabbed each dot with a piece of kitchen paper, it smudged and softened it enough to give the impression of real falling snow.  That's what I love about doing this, I am constantly learning new techniques.


COPIC COLOURS 
Background - N0, N1, N2, W0, W1, W2, BG90, BG70, B93
Stag Antlers - E40, E41, E70, W1, W2, W3, W4, W5, 0
Snow - BG0000, BG000, C0, C1, C2, 0
Body & Head - E40, E41, E50, YR30, E70, E81, E71, T0, T1, T2, T3, T4,
 T5, T6, W0, W1, W2, W3, W4, W5, W6, W7, W8, W10

Caran D'Ache Pablo White pencil
Sharpie Water Based White Paint Marker


Thank you for visiting my blog today.

 I wish you all a very Merry Christmas and all the best for 2020

Until next time
Happy Colouring

20 November 2019

You had me at ice cream!

I finally got to play along with the #thedailymarker30day challenge!

And here is the Whimsy Stamps - Ice Cream Penguin mounted on a card.


I was wondering how many of you have a dilemma when mounting Copic colouring on a white card base........... the card I use for Copics is a completely different shade of white and it didn't look right on the plain white card base.

So it gave me the perfect excuse to flick some Distress Oxide ink that co-ordinated with the colours used on the penguin.  I managed to get it on me, my craft mat, my table oh and even the card base....... hey, please don't judge, I was having fun!
A simple way to add a smidge of colour to white card.


For anyone interested in colouring this little chap, here is a list of the colours I used:

COPIC COLOURS
Body: BV01, N4, N6, N8, B0000, NO, N1, N2
Eyes: 100, B000
Feet: YR20, YR21, YR23, YR27, W4, W5
Ice Creams:
Strawberry: RV10, RV11, RV32, RV34, BV11, V20
Mint: G000, YG41, YG61, YG63
Vanilla: YR30, E51, E53, E55, E27
Chocolate: E21, E23, E25, E27, E49
White: C00, C0, C2, BV20, YG61, RV32, E53
Coffee: E40, E41, E42, E43, E44
Cone: E30, E31, E34, E35, E37
Ground: YR30, E81, E84

Until next time
Happy Colouring

12 July 2019

Super Boy

A while ago I posted this image on instagram of me testing out my new drawing board.  
(I can report that my shoulders and neck feel a lot better since I've been using it)


Anyway, I thought I'd share the finished card I created using the Whimsy Stamps "Super Boy" image.


He was initially coloured with Copic markers, then enhanced with Caran D'Ache Pablo pencils (hair and fine detail lines only)

For those of you who would like to give this a try here are the Copic colours I used:

COPIC COLOURS
Skin: E0000, E000, E40, E41, E42, BV20, R20, BG93
Eyes: B0000, W0, B12, B16, 100
Belt: Y11, Y13, Y15, Y17, W1, W3
Hair: E51, E13, E23, E25, E27
Mask: R22, R24, R29, R37, R39
Suit: B21, B24, B26, B29, B93, B95, B97, W3
Cloak: R22, R24, R29, R37, R59, RV99, BG93, BG99, W8
Boots: R22, R24, R29, R37, R59, RV99, BG93, Y11, Y13, W1, W3
Gloves: C1, C3, C5, C7, R22, R24
Ground: W0, W1, W2, W4, W6, R11


I am trying to make predominantly "boy" cards at the moment as most of our relatives are male.  So if you know of stamps/images that are suitable for men in their 20's and older please let me know.

Until next time, happy colouring!

8 July 2019

Birthdaysaurus greetings to you all!

I'm finally back in the studio having had a wonderful time in Scotland, yes, I finally got there!

So here is hopefully the first of many creations:


The last time I coloured this guy I used Copics and Coloured Pencils, but this time I wanted to see if I could manage without the pencils.

I have fitted some of my Copic Original markers with very fine tips which enables me to add detail with Copic - so I gave it a go!

In all honesty I had to admit defeat and use a grey pencil to a few areas that with the steadiest hand and best will in the world I was not able to achieve with Copics alone!

COPIC COLOURS USED:
Body: BV0000, BV000, BV00, BV01, BV02, V91, V93, V95
Spots: RV10, RV11
Shadows: N1, N2, N3, N4, N5, N7, N8, T0, T2, T4, W1, W3
Eyes: B0000, N8
Feet: YR30, E81
Cake: E41, E42, E43, E44, E47, E70, E71, E74, E77
Candle: RV14, RV19, W3, YR20, YR15
Hat: RV11, RV14, RV17, RV19, W3
Grass: G40, YG61, YG63, YG67, YG91

Well, that's it for now, enjoy the sunshine & don't forget the sunscreen!

3 May 2019

Cuteness Alert!

What's better than an adorable, artistic teddy bear!


As soon as I saw this image I knew I'd have to add the stamp to my collection.  
He's a bear after my own heart, I adore working with coloured pencils too!


I enjoyed adding the distressed wall and weeds, it helped set the scene for his little Birthday message.

It felt good to get inky again 😀

Happy Colouring

15 December 2018

Christmas card Design 2018

For those of you that follow me on 
Instagram or Facebook

you will have already seen this......but for those of you that may have missed it, here is my 
2018 Family Christmas card Design

100% Copic!


and here is the final image


It never ceases to amaze me as to what can be achieved with Copic markers!


If you would like to see more of my work as I mentioned earlier you can also find me on both Instagram and Facebook


Thanks for dropping by my blog

11 December 2018

MFT RELEASE DAY - DECEMBER 2018

How many items have you got on your wish list?


Before you head off to the store for that little pre-Christmas crafting treat, allow me to share my final project from this release:


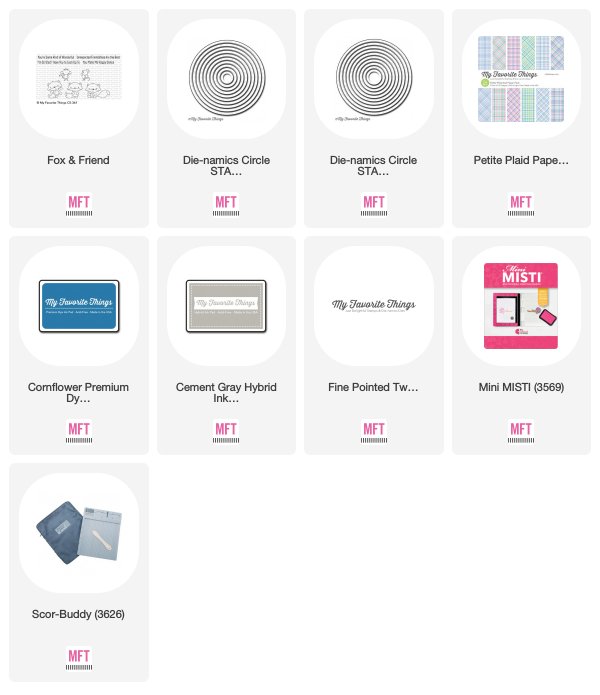
Cuteness alert!  These sweet little critters are just adorable and can be found in the new "Fox and Friend" stamp set (matching dies are available too)

I opted to keep the overall design of the card quite simple, with a background from the Petite Plaid paper pad.


COPIC COLOURS:
Background: B0000, B000, G20, G40, T1, YG61, 0, YR21
Fox: YR30, E40, E21, E11, E13, E15, RV91, W9
Mouse: W0, W1, W2, W3, W4, W5, W7, RV91


As always on the day of the launch, please don't forget to leave a comment on my blog for your chance of winning one of two $100 MFT Store Vouchers......now wouldn't that be an awesome early Christmas present!

All that is left for me to say is........

Happy Shopping


7 December 2018

MFT DECEMBER RELEASE - COUNTDOWN DAY 4

Hi there, back today with another new release that will be available from Tuesday at MFTStamps.com


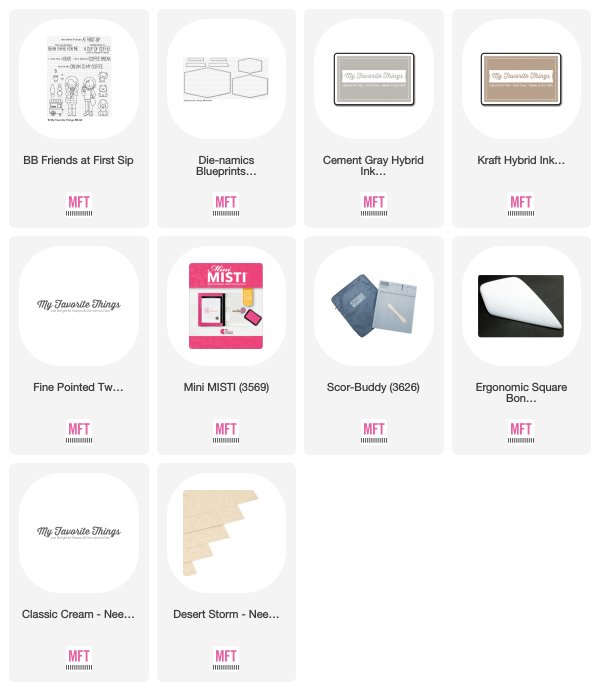
This image is from the new Birdie Brown "Friends at First Sip" stamp set and I created a shaped card using the new Blueprints 33 Die-Namic.


For those of you who may be interested in following my colour scheme, here are the Copic colours I used in this project:

COPIC COLOURS
Face: E0000, E000, E00, E40, E41, V20, BV20, B12, B34, 100
Hair: E21, E23, E25, E47, W7
Sweater: B12, B14, B37, B39, B97, W4, W6, W8
Jeans: B93, B95, B97, W4, B91
Shirt: B01, C1, C2
Bag: C0, C1, C2, C4, C5, C6, B95
Boots: E40, E41, E42, E43, E44, E47, W2
Dog: W00, W0, W1, W2, W3, W7, YG67, R24, B14, RV91
Background: YR30, E50, E81, W1, W2
Coffee Cup: BG0000, B0000, E81, E84, E42, W3

Thanks for visiting my blog today, I'd love to hear what you think of the new release so far.  
I will be back again in a couple of days with another project.

Happy Colouring


23 November 2018

ARTISTIC EXPRESSION NOVEMBER 2018

Hello there, it's time for another


and this month I explain how I go about colouring things that are
BLACK and WHITE

and chose to use this adorable little penguin from the newly released
Ready, Set, Snow stamp set.


So please head on over to the MFT Blog where you will find the detailed tutorial.

I'd love to hear what you think and see you giving it a try yourselves.

Happy Colouring

13 November 2018

MFT RELEASE DAY - NOVEMBER 2018

Well, the day you have all been waiting for has finally come!
The new release is now available at MFT Stamps Store

Before you head on over and fill your basket, allow me to share with you the last of my projects for this awesome November release:


Are these adorable or what!  You are definitely going to want to add Birdie Brown's Ready, Set, Snow on your shopping list!
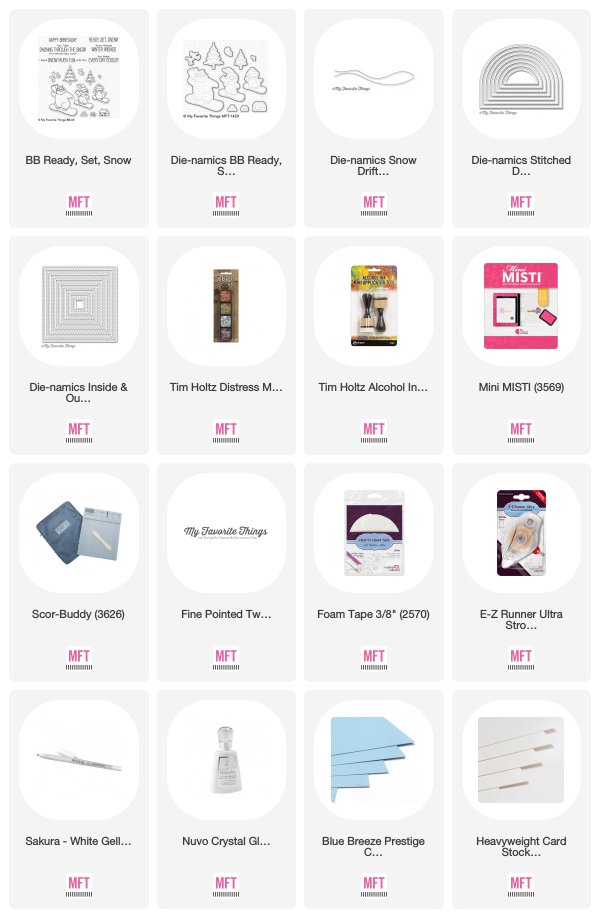
I stamped the images on to Copic suitable card with Cement Grey Hybrid ink and then coloured them with Copic ink.  Their goggles were created using a little Nuvo Crystal Glaze.

COPIC COLOURS:
Rabbit: T0, T1, T2, T3, T4, T5, T7, RV93, R20, E23, E27, W8
Scarf: RV32, RV34, R56, W4, W6
Goggles: R35, R39, YG63, YG67
Snowboard: RV10, RV32, RV34, R56, W1, W2, BV23, BV25, 0
Bear: E40, E41, E42, E43, E44, YG63, YG67, W8
Scarf: B21, B23, B24, B26, C4, C6, 0
Goggles: B26, C4, R29
Snowboard: B21, B23, B24, B26, B29, B99, BG02, BG07, 0, BV25, BV29, W1, W2


As you can see from the images, I opted for a tent fold Smooth White card today, using a Stitched Dome Stax for my main panel.  I cut the base from Blue Breeze, with a white layer of Smooth White.  This was then trimmed using a Snowdrifts die before being inked with Tumbled Glass Distress ink.  As I've done previously within this release I used Picket Fence Distress ink, a natural sponge and a white gel pen to give that extra snowy feel to the card.
The bear was stuck on with glue, whereas the rabbit was attached with foam tape for added dimension.
The base panel was inked and sponged as before, with the sentiment panel being stamped with Versamark ink and heat embossed with Wow Metallic First Frost Embossing Powder.

Now don't forget, as it's release day please leave a comment at the end of this post for your chance to win one of two $100 MFT Store Vouchers - you never know it could be you!

Happy Shopping