Showing posts with label Just add Colour. Show all posts

10 May 2018

MFT MAY RELEASE - JUST ADD COLOUR

Hello again, I'm back with one of our newer monthly features:


As you may recall, this is where we showcase elements from our new release with colouring as the main focal point.

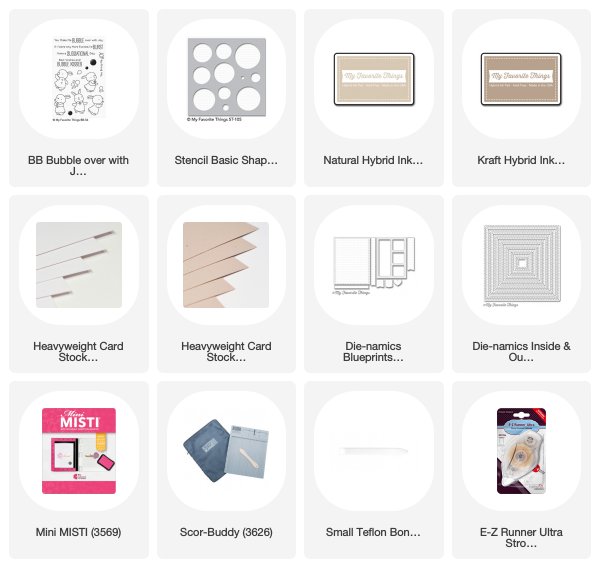
I started with a piece of Copic suitable card and cut out a stitched square using the Inside and Out Stitched Square stax. Then with the Basic Shapes Circles stencil, inked random circles with Natural Hybrid ink and turned those simple inked circles in to spheres using Copic makers (available HERE)


I kept the colour palette quite simple by using purely earth tones and greys..........but I would suggest that should you want to try this at home, learn from my mistake and make sure you ink your circles well enough.  I had been a little too light handed with the inking and as it dried I was really struggling to see the circles.........lesson learnt!

COPIC COLOURS:
E11, E13, E15, E21, E23, E30, E31, E33, E34, E40, E41, E42, E43, E50, E51, E53, E55, E81, E84, W0, W1, W2, W3, YR30


Once coloured I adhered the finished piece on to a top folding square Sweet Tooth cardbase, with a Natural mount.  The sentiment, from the the Bubble over with Joy set was stamped onto Copic card with Hybrid Kraft ink and cut using the Fishtail sentiment strip from Blueprints 27.

A different approach when using those stencils in your collection and a great way to practice your Copic shading.

Happy Colouring

SUPPLIES USED:

5 April 2018

MFT APRIL RELEASE - JUST ADD COLOUR

Hello there and welcome to a new monthly feature at MFT:


We will be sharing images from each months release, with colouring as the main focal point - just my kind of post!


 Oh this was such a fun project, not only because I got to draw all the foliage but I had to work out how to use the new Birdbath Die-namic to make a stencil that I could then colour.

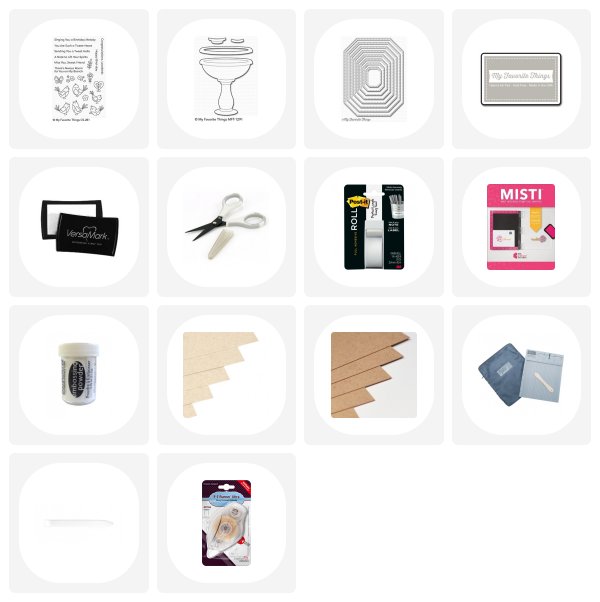
I cut a piece of Neenah Desert Storm cardstock with a Stitched Tag Corner Rectangle die and then stamped the two birds with Cement Grey Hybrid ink.  Both birds were then covered with masks.

As for the birdbath, I started by cutting out the main die from a large piece of masking tape.  I set aside the die cut and adhered the negative space to my piece of Neenah and proceeded to sponge Cement Grey Hybrid ink on to it.  Once the masks were removed, I was left with a solid grey outline of the birdbath, with both birds perfectly placed.  Then I simply coloured on top of the solid inked image using Supracolor Soft pencils, with images on my iPad for reference.

I adopted the same approach for both the birds and foliage, using a combination of both coloured pencil and Neocolor II crayons, whilst referring to images on my iPad.........remember "Google, don't Guess!"

As Caran D'Ache Supracolor Soft pencils are as the name suggests "soft" they do tend to smudge more readily than the Pablo's I usually use, so once I had finished colouring with both them and the Caran D'Ache Neocolor II crayons I made sure that I sprayed the finished piece with fixative.  I use Winsor and Newton Professional Fixative, but a fine mist of hairspray will do the job too (it's what I used as a student)


Finally I stamped the sentiment with Versamark ink and heat embossed it with White Embossing powder.

The card base is a tent fold card, cut using the largest Stitched Tag Corner Rectangle.  I wanted to keep the card simple, after all the colouring is supposed to be the focal point!

Thanks for joining me today, until next time
Happy Colouring


SUPPLIES USED: