Showing posts with label MFT & Friends. Show all posts

12 June 2018

MFT AND FRIENDS - JUNE 2018

Hello there, it's time to take a second look at the June release from MFT.


I chose to use Birdie Brown's Gill Friends and couldn't resist incorporating a little cross-stitch too!


I cut the cross-stitch grid with the Cross-Stitch Tag die from Yupo paper.   If you haven't tried Yupo paper before, it's fantastic for cross-stitch projects as it's less inclined to tear if you pull the threads too tight.

I used 6 colours of DMC Perle Cotton in a random pattern to give the impression of water.

As for the fish, they were stamped with Hybrid Gravel Grey ink on Copic suitable card and coloured with Copic Markers (available here)

COPIC COLOURS:
Goldfish: Y17, YR04, YR07, YR14, YR18, YR27, W8
Neon Tetra: W1, W2, R22, R27, B21, B24, W8
Background: Y17, B01, BG13, BG45, BG49, YG61


You may have spotted that I coloured the outside of the die cut fish.  I did this in order that they blended in better with the water.

Small bubbles were created using clear round drops that I adhered to the stitched area with Multi Medium Matte.  The fish were affixed with either Multi Medium Matte or Foam Squares for additional dimension.

I created my own background paper using the Mermaid Tail background stamp and various Hybrid inks to match the DMC threads.  The finished project was adhered to a Smooth White card base, with a narrow Tropical Teal mount.

Many thanks for visiting my blog today and don't forget you can follow me on my Facebook Page and Instagram.


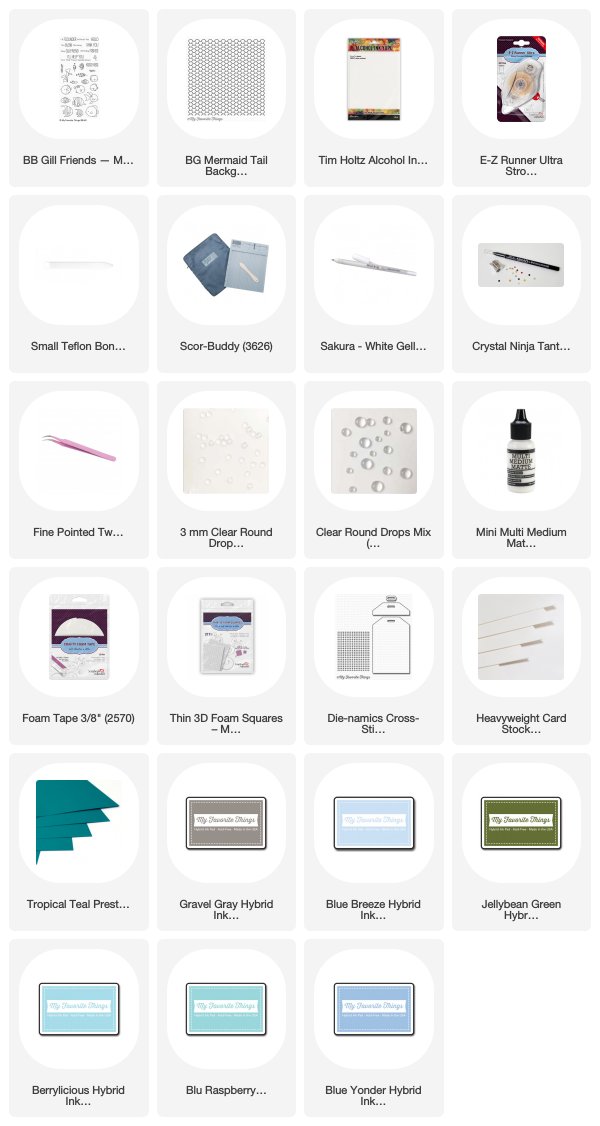
SUPPLIES USED:
15 May 2018

MFT AND FRIENDS - MAY 2018


Today I am taking another look at our recent May release:


If you've been following me for a while you will know by now I love sewing almost as much as I love colouring so I decided to combine the two for todays project.

I started with the new Scallop Cross-Stitch Tag and used just the pierced element - cutting out a grid on a piece of white Yupo cardstock.  This is amazing for stitching - it's synthetic, so won't tear as readily as paper based card - great for beginners who may pull the threads too hard.

As you can see I used a plain cross stitch in three colours for the lower area using 4 strands of embroidery thread.  The upper portion was sewn with 2 strands of thread using a simple square stitch that covers the area quickly and easily.  (It's basically diagnals of back stitch, which once complete give the appearance of squares.)


The little boy was stamped on to Copic suitable card using Hybrid Cement Grey ink and coloured with Copics (available here) and a touch of pencil enhancement.

COPICS USED:
Skin: E0000, E000, E40, E41, V20, R20
Eyes: B21, B26, W10
Jeans: B91, B93, B95, N0, N2, N3, N4
Shoes: W0, W1, W2, B16, B18, N4
Shirt: B000, B00, N2, N0
Hair: E21, E23, E25, E27
Cat: E11, E13, E15, E17, RV93, YG61, W4, W8


Once completed, I adhered the stitched panel to a Smooth White card base with foam tape and glued the little guy onto the sewn panel with Multi Medium Matte.

Thanks for dropping by my blog today, don't forget you can keep up to date with my latest work by following on Blogger, signing up to emails (see side panel on blog) as well as my FACEBOOK PAGE and INSTAGRAM.

Until next time
Happy Colouring


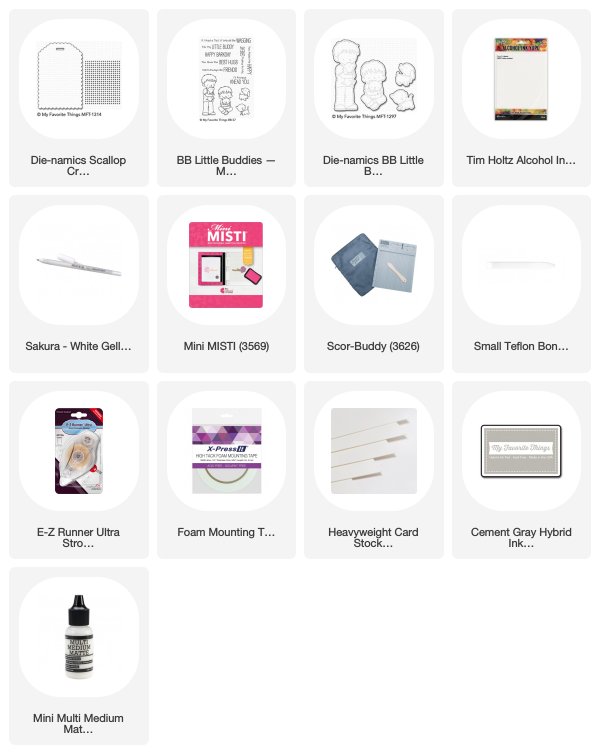
SUPPLIES USED:

10 April 2018

MFT AND FRIENDS - APRIL

Thank you for dropping by for our new monthly feature
where the Design Team and Special Guests share more ideas using the most recent release:


I love the new Cross-Stitch Rectangle and will undoubtedly be using it a lot:


I opted to sew my image with DMC Pearl Cotton #5 on MFT Kraft card.  As for the pansy, I found the chart on the internet.

Once completed I inked the edge of the die cut with a combination of Antique Linen and Frayed Burlap Distress ink.


A little tip:  I wanted to use Lemon Chiffon as a backing mount, but did not want to see the yellow through the unstitched holes.  So I cut a piece of kraft paper to fit the die and adhered it with tape, before adhering it to the background with foam tape, thus preventing the yellow from showing without adding additional bulk.  

Thanks for visiting the blog today, don't forget you can also keep up to date with my latest work on my FACEBOOK PAGE and INSTAGRAM

Until next time
Happy Colouring

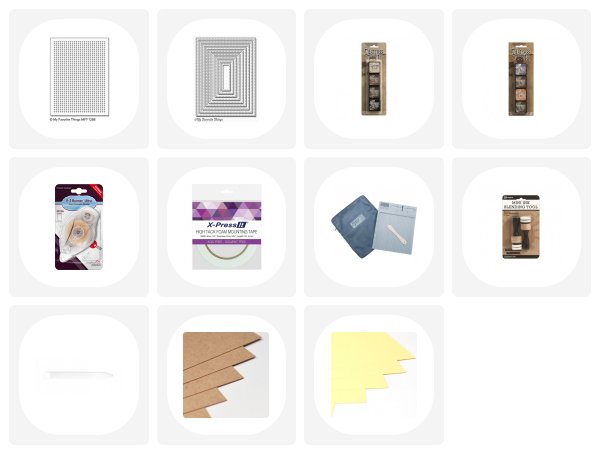
SUPPLIES USED: