Showing posts with label No lines. Show all posts

26 March 2024

Better late than never!

 Hello everybody!

A couple of months after I posted my Stag Christmas image I was diagnosed with PVD (Posterior Vitreous Detachment) which affected my vision and I had to stop drawing. 

I am now thankfully able to get back to doing what I love, albeit I'm taking it slowly.


Back in April 2020, Caroline McFarlane-Watts from Tall Tale Productions released a free colouring page - she set it as a #talltalescoloringchallenge during lockdown.

Oh well, I'm only 4 years late!

 I had such fun colouring this and I even remembered to take some photographs along the way.


It features some of Caroline's characters, including Hortense with her creepy stole.


 I was a little rusty at first but it soon started to click again. The picture is highly detailed and it was far too fiddly for Copics alone, so I enhanced my colouring with coloured pencils (Caran D'Ache Pablos and Luminance)


As I have done in the past, I printed the image in pale grey so I could achieve that "no lines colouring" look. 


I can even see my technique improving as I moved down the page, the lower half definitely has more depth and richness of colour.
 Maybe that's why Hortense is not looking too happy!


Nearly there!


The owls were a "hoot" to colour!
But, oh boy, those curls took ages to complete.

I am pretty chuffed with the end result and it feels really good being back in the studio.


Thank you for visiting my blog today.

Until next time
Happy Colouring


20 November 2019

You had me at ice cream!

I finally got to play along with the #thedailymarker30day challenge!

And here is the Whimsy Stamps - Ice Cream Penguin mounted on a card.


I was wondering how many of you have a dilemma when mounting Copic colouring on a white card base........... the card I use for Copics is a completely different shade of white and it didn't look right on the plain white card base.

So it gave me the perfect excuse to flick some Distress Oxide ink that co-ordinated with the colours used on the penguin.  I managed to get it on me, my craft mat, my table oh and even the card base....... hey, please don't judge, I was having fun!
A simple way to add a smidge of colour to white card.


For anyone interested in colouring this little chap, here is a list of the colours I used:

COPIC COLOURS
Body: BV01, N4, N6, N8, B0000, NO, N1, N2
Eyes: 100, B000
Feet: YR20, YR21, YR23, YR27, W4, W5
Ice Creams:
Strawberry: RV10, RV11, RV32, RV34, BV11, V20
Mint: G000, YG41, YG61, YG63
Vanilla: YR30, E51, E53, E55, E27
Chocolate: E21, E23, E25, E27, E49
White: C00, C0, C2, BV20, YG61, RV32, E53
Coffee: E40, E41, E42, E43, E44
Cone: E30, E31, E34, E35, E37
Ground: YR30, E81, E84

Until next time
Happy Colouring

12 July 2019

Super Boy

A while ago I posted this image on instagram of me testing out my new drawing board.  
(I can report that my shoulders and neck feel a lot better since I've been using it)


Anyway, I thought I'd share the finished card I created using the Whimsy Stamps "Super Boy" image.


He was initially coloured with Copic markers, then enhanced with Caran D'Ache Pablo pencils (hair and fine detail lines only)

For those of you who would like to give this a try here are the Copic colours I used:

COPIC COLOURS
Skin: E0000, E000, E40, E41, E42, BV20, R20, BG93
Eyes: B0000, W0, B12, B16, 100
Belt: Y11, Y13, Y15, Y17, W1, W3
Hair: E51, E13, E23, E25, E27
Mask: R22, R24, R29, R37, R39
Suit: B21, B24, B26, B29, B93, B95, B97, W3
Cloak: R22, R24, R29, R37, R59, RV99, BG93, BG99, W8
Boots: R22, R24, R29, R37, R59, RV99, BG93, Y11, Y13, W1, W3
Gloves: C1, C3, C5, C7, R22, R24
Ground: W0, W1, W2, W4, W6, R11


I am trying to make predominantly "boy" cards at the moment as most of our relatives are male.  So if you know of stamps/images that are suitable for men in their 20's and older please let me know.

Until next time, happy colouring!

3 May 2019

Cuteness Alert!

What's better than an adorable, artistic teddy bear!


As soon as I saw this image I knew I'd have to add the stamp to my collection.  
He's a bear after my own heart, I adore working with coloured pencils too!


I enjoyed adding the distressed wall and weeds, it helped set the scene for his little Birthday message.

It felt good to get inky again 😀

Happy Colouring

7 December 2018

MFT DECEMBER RELEASE - COUNTDOWN DAY 4

Hi there, back today with another new release that will be available from Tuesday at MFTStamps.com


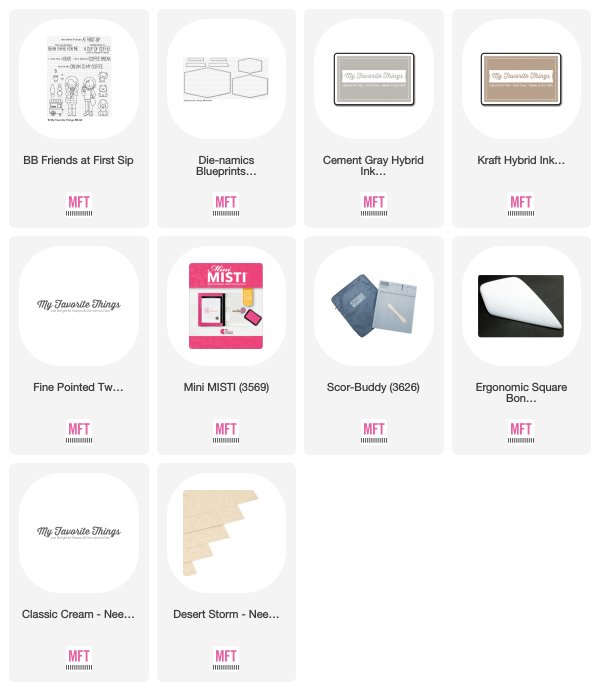
This image is from the new Birdie Brown "Friends at First Sip" stamp set and I created a shaped card using the new Blueprints 33 Die-Namic.


For those of you who may be interested in following my colour scheme, here are the Copic colours I used in this project:

COPIC COLOURS
Face: E0000, E000, E00, E40, E41, V20, BV20, B12, B34, 100
Hair: E21, E23, E25, E47, W7
Sweater: B12, B14, B37, B39, B97, W4, W6, W8
Jeans: B93, B95, B97, W4, B91
Shirt: B01, C1, C2
Bag: C0, C1, C2, C4, C5, C6, B95
Boots: E40, E41, E42, E43, E44, E47, W2
Dog: W00, W0, W1, W2, W3, W7, YG67, R24, B14, RV91
Background: YR30, E50, E81, W1, W2
Coffee Cup: BG0000, B0000, E81, E84, E42, W3

Thanks for visiting my blog today, I'd love to hear what you think of the new release so far.  
I will be back again in a couple of days with another project.

Happy Colouring


23 November 2018

ARTISTIC EXPRESSION NOVEMBER 2018

Hello there, it's time for another


and this month I explain how I go about colouring things that are
BLACK and WHITE

and chose to use this adorable little penguin from the newly released
Ready, Set, Snow stamp set.


So please head on over to the MFT Blog where you will find the detailed tutorial.

I'd love to hear what you think and see you giving it a try yourselves.

Happy Colouring

13 November 2018

MFT RELEASE DAY - NOVEMBER 2018

Well, the day you have all been waiting for has finally come!
The new release is now available at MFT Stamps Store

Before you head on over and fill your basket, allow me to share with you the last of my projects for this awesome November release:


Are these adorable or what!  You are definitely going to want to add Birdie Brown's Ready, Set, Snow on your shopping list!

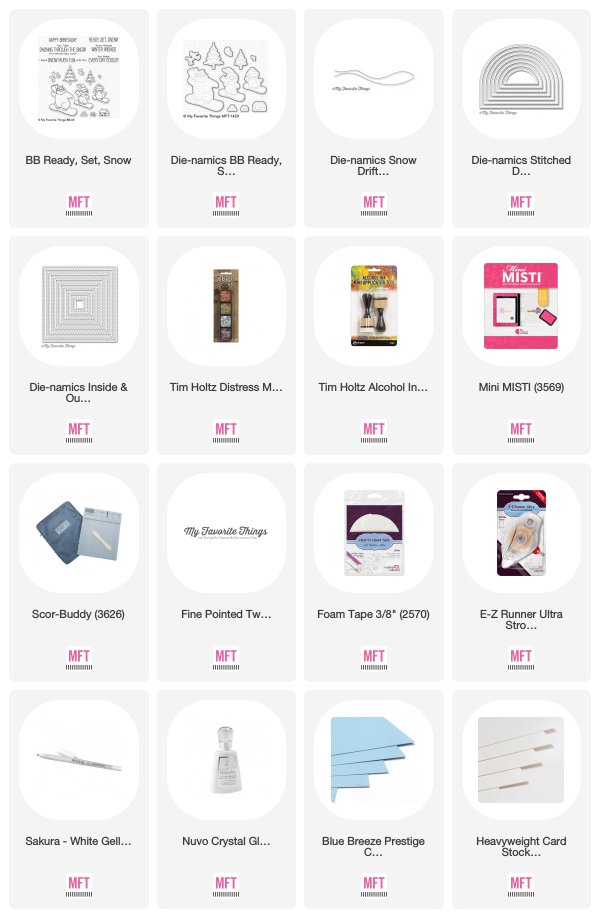
I stamped the images on to Copic suitable card with Cement Grey Hybrid ink and then coloured them with Copic ink.  Their goggles were created using a little Nuvo Crystal Glaze.

COPIC COLOURS:
Rabbit: T0, T1, T2, T3, T4, T5, T7, RV93, R20, E23, E27, W8
Scarf: RV32, RV34, R56, W4, W6
Goggles: R35, R39, YG63, YG67
Snowboard: RV10, RV32, RV34, R56, W1, W2, BV23, BV25, 0
Bear: E40, E41, E42, E43, E44, YG63, YG67, W8
Scarf: B21, B23, B24, B26, C4, C6, 0
Goggles: B26, C4, R29
Snowboard: B21, B23, B24, B26, B29, B99, BG02, BG07, 0, BV25, BV29, W1, W2


As you can see from the images, I opted for a tent fold Smooth White card today, using a Stitched Dome Stax for my main panel.  I cut the base from Blue Breeze, with a white layer of Smooth White.  This was then trimmed using a Snowdrifts die before being inked with Tumbled Glass Distress ink.  As I've done previously within this release I used Picket Fence Distress ink, a natural sponge and a white gel pen to give that extra snowy feel to the card.
The bear was stuck on with glue, whereas the rabbit was attached with foam tape for added dimension.
The base panel was inked and sponged as before, with the sentiment panel being stamped with Versamark ink and heat embossed with Wow Metallic First Frost Embossing Powder.

Now don't forget, as it's release day please leave a comment at the end of this post for your chance to win one of two $100 MFT Store Vouchers - you never know it could be you!

Happy Shopping

10 November 2018

MFT DECEMBER RELEASE - COUNTDOWN DAY 3

Thank you for visiting my blog, I have a wonderful new stamp that will be released on Tuesday at My Favorite Things.


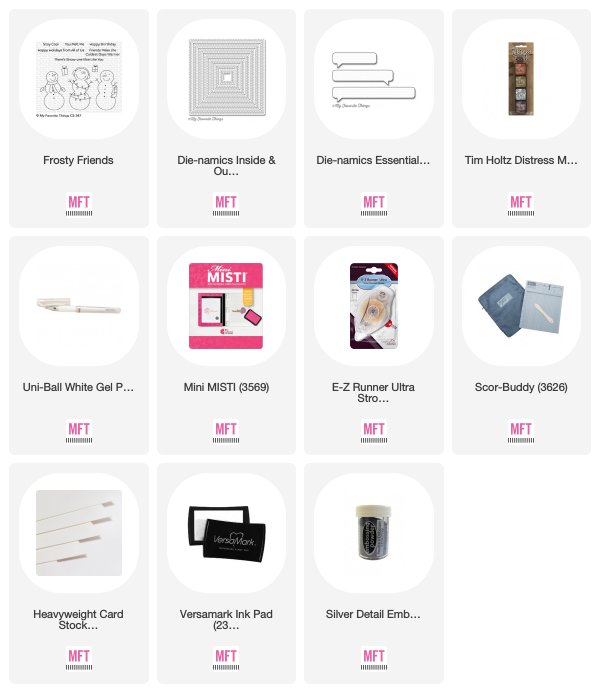
I started by cutting a square with the Inside and Out Stitched Square Stax from Bristol card.   To create the speech bubble I cut out the shape using Essential Speech Bubbles from a piece of masking paper and applied this to the card which I then inked with Tumbled Glass Distress ink. Once the ink was dry I added a few faint tree shapes with Copic markers.

The snowman was stamped with Cement Grey Hybrid ink on to Copic suitable card and coloured with Copic Markers. I then decided to fussy cut the snowman.


COPIC COLOURS:
Body: BG0000, BG000, C00, C0, C1, C2
Accessories: G12, G21, G24, W1, W3, W5, W6, YR12, YR18, YR21, E33, E35
Background: BG70, N0, N1

I glued the snowman on to the card after I had stamped the sentiment with Versamark ink and heat embossed it with Silver Embossing Powder.  With the use of a natural sponge, some Picket Fence Distress ink and a Sharpie Medium Point Paint Marker I added a little texture to give the appearance of snow.

The image panel was adhered to a top folding square card made from Smooth White Card.

I will be back on Release Day with another project using this month's new releases.

Until then....
Happy Colouring


8 November 2018

MFT NOVEMBER RELEASE - COUNTDOWN DAY 5

Woo hoo, it's that time again when I start to share some of the new stamps and dies that will be coming soon to My Favorite Things


This adorable little owl is from the new Stacey Yacula stamp set - Warm and Feathered Hugs.

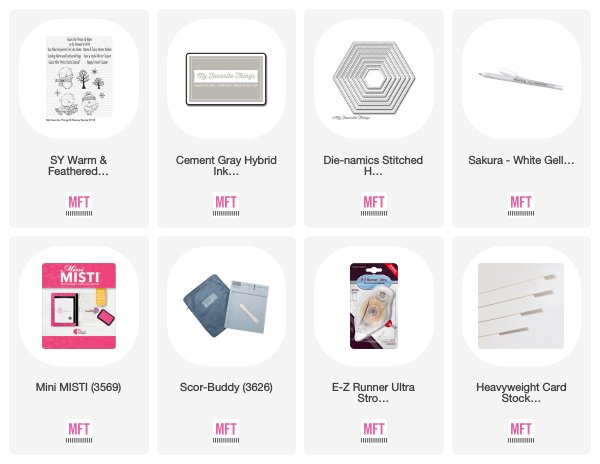
I cut a panel from Copic suitable card with a Stitched Hexagon Stax on which I then stamped the owl and tree with Cement Grey Hybrid ink. The image was coloured with Copic Markers.

COPIC MARKERS:
Background: B000, W1, W2, BG0000, BG70, N0, N2, N4, E30
Sled: E30, E31, E34, W2, B00
Owl: YR30, E40, E41, E70, E71, E74, E77, Y35, YR24, W8
Scarf: YG61, YG63, YG67, W2, W4, Y35


A little extra texture was created by adding a small amount of doodling with a white gel pen.

The panel was adhered to a top folding card I cut from Smooth White card using the largest Stitched Hexagon die.

I will be back tomorrow with another card.

Happy Colouring

25 October 2018

MFT COLOUR CHALLENGE #104

Hello and welcome to my blog, thank you for dropping by.

I am playing along with the current MFT Colour Challenge and I'd love you to join in.


All you have to do is create a project using the above colours and enter it


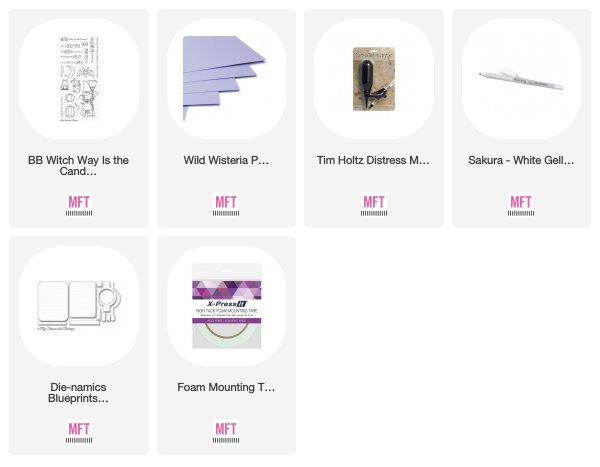
As we are getting close to Halloween, I chose to use this cute little cat from Birdie Brown's Witch Way is the Candy?

Having stamped the images with Cement Grey Hybrid ink, I masked them with some post-it tape before spritzing some YR15 and BV02 using a Distress Marker Spritzer Tool.

I then removed the tape and proceeded to colour the images with the colours in the challenge.


COPIC COLOURS
Background: YR15, BV02
Pumpkins: YR21, YR12, YR15, YR24, YR18, B91, B93, E81, E84, C2
Cat: BV02, C2, C4, C6, C8, B0000, B000, C8, E81, C2
Bow tie: BV08, BV13, BV17
Ground: W00, W0, W1, W3, W5, W7

I created a shaped card with the aid of Blueprints 31, mounting the image panel with foam tape on Wild Wisteria cardstock.

Why not have a go, you never know you may the lucky winner of a $50 MFT Gift voucher.

Until next time
Happy Colouring


23 October 2018

P P PICK UP A PENGUIN

If you're a Brit 🇬🇧 like me you'll be thinking about Chocolate Biscuits right about now!
(a Penguin is a chocolate coated biscuit, similar to an Australian TimTam)

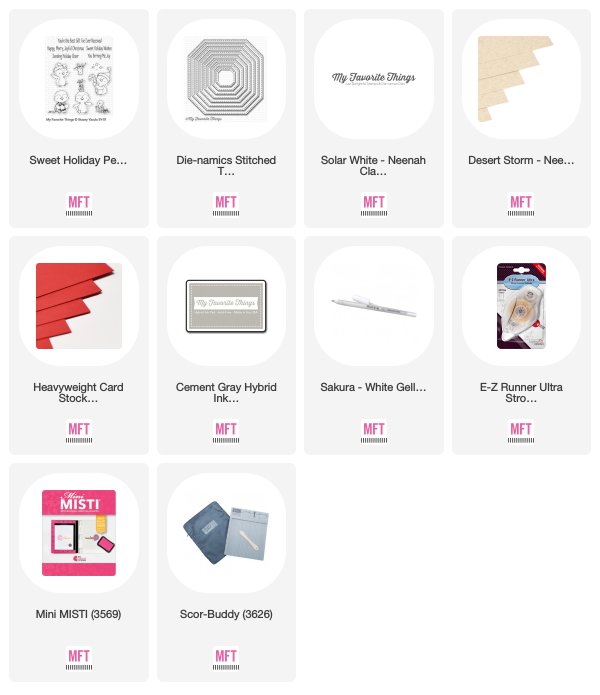
As promised, here is another card I created using
Sweet Holiday Penguins by Stacey Yacula


Today, I decided to swap my Copics for Caran D'Ache Luminance pencils.  I stamped the image with Cement Grey Hybrid ink on to Neenah Desert Storm 100lb cardstock, which I then cut using a Stitched Tag Corner Square Stax Die-namics.


Once coloured, I created a top folding card base from Neenah Classic Crest Solar White 110lb.  The rest of the card was made from layers of the same Neenah white card and Red Hot card, to mirror the stripes on the candy cane. 

Thank you for visiting my blog today

Happy Colouring
22 October 2018

MFT HAS A NEW DESIGNER

Hello everyone, I'm back today to share some fantastic news:
Stacey Yacula has joined the MFT Family!

So I had fun creating this card for you, using her first stamp set
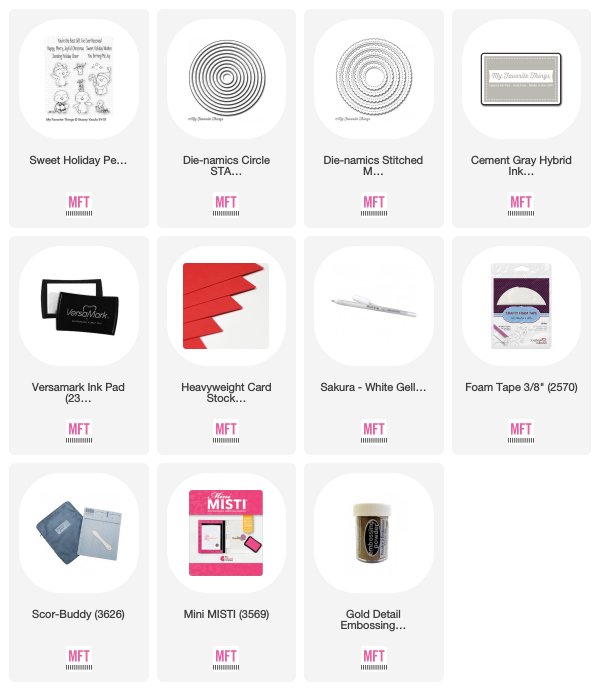
Sweet Holiday Penguins


I stamped the little penguins with Cement Grey Hybrid ink on to Copic suitable card, having pre-cut the cardstock with a Circle Stax 2 Die-namics.

COPIC COLOURS:
Background: YR30, E50, E81, E84, C1, C2, C4
Penguins: B0000, C00, C0, C1, C4, C6, C8, C10, B45, V20, YR21, YR12, YR18
Hat: R24, R29, R56, R59, BG0000, BG000, N1, N2, N3
Box: R22, R24, B0000, B00, YR20, YR21, YR23, C0, C1, C2


Once coloured, I stamped a sentiment from the stamp set with Versamark ink and heat embossed with Gold Embossing Powder.  I opted to mount the image panel with foam tape on to a top folding card made using Wild Cherry and a Stitched Mini Scallop Circle Stax die.

Please hop on over to the MFT Blog to not only see more cute penguins but also our latest card kit.

As for me, I will be back tomorrow with more cuteness!
Until then
Happy Colouring