Showing posts with label MFT Countdown. Show all posts

9 December 2018

MFT DECEMBER RELEASE - COUNTDOWN DAY 2

Today I wanted to share the project I created with the "Best Wishes" Die-Namic, our Free with $60 die that will be available from MFTstamps.com for qualifing orders from Tuesday.


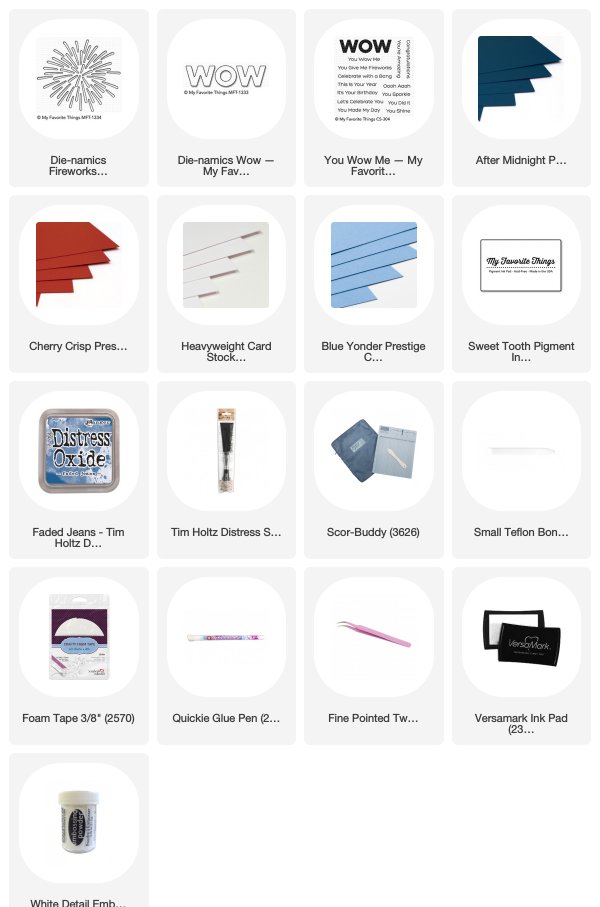
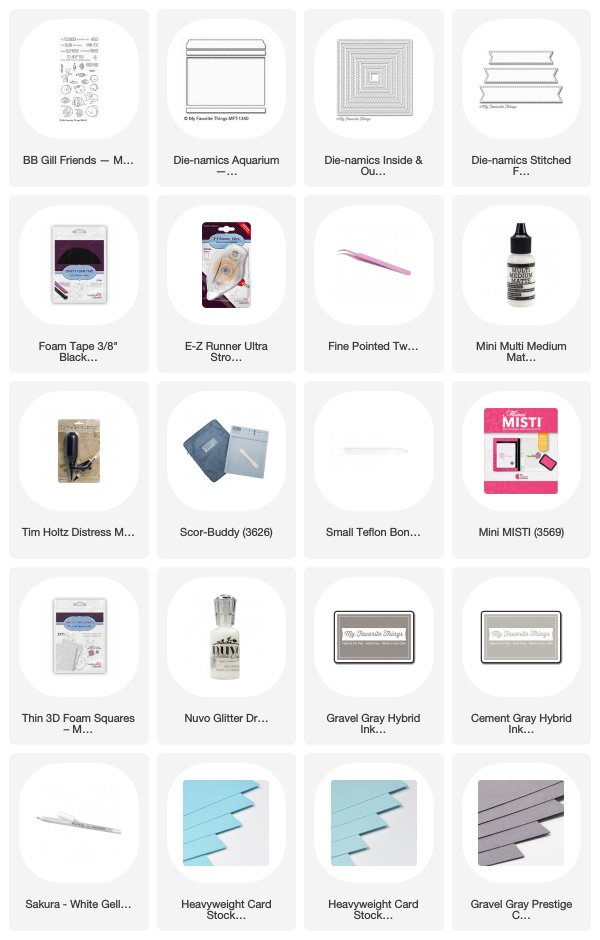
The background was created using the Geometric Stars Stencil and some Distress Oxide inks, with a spritz of Perfect Pearls mist to finish.  I continued the colour scheme with Sweet Tooth and Blue Yonder card stock, adding several mounts to a top folding square card base.

I cut the sentiment out three times, twice in white with a final layer of Blue Yonder, which I then coated with Nuvo Glitter Gloss for added sparkle.  I find three layers of cardstock glued together is more than sufficient.


I will be back on launch day but please don't forget to visit the MFT Blog to see more inspiration using products from the release on Tuesday.

Until then
Happy Colouring


7 December 2018

MFT DECEMBER RELEASE - COUNTDOWN DAY 4

Hi there, back today with another new release that will be available from Tuesday at MFTStamps.com


This image is from the new Birdie Brown "Friends at First Sip" stamp set and I created a shaped card using the new Blueprints 33 Die-Namic.


For those of you who may be interested in following my colour scheme, here are the Copic colours I used in this project:

COPIC COLOURS
Face: E0000, E000, E00, E40, E41, V20, BV20, B12, B34, 100
Hair: E21, E23, E25, E47, W7
Sweater: B12, B14, B37, B39, B97, W4, W6, W8
Jeans: B93, B95, B97, W4, B91
Shirt: B01, C1, C2
Bag: C0, C1, C2, C4, C5, C6, B95
Boots: E40, E41, E42, E43, E44, E47, W2
Dog: W00, W0, W1, W2, W3, W7, YG67, R24, B14, RV91
Background: YR30, E50, E81, W1, W2
Coffee Cup: BG0000, B0000, E81, E84, E42, W3

Thanks for visiting my blog today, I'd love to hear what you think of the new release so far.  
I will be back again in a couple of days with another project.

Happy Colouring


6 December 2018

MFT DECEMBER RELEASE - COUNTDOWN DAY 5

Well hello there and welcome to the start of the countdown for this months new release
at MFT Stamps.

Today I have a new Die-Namics called "Bold Beautiful", ideal for those days when you are not in the mood to colour!


 I opted for a sparkly, copper colour scheme - with the aid of MFT Copper Sparkle and Copper Shine card.  Both the card base and inside of the lettering were cut from Neenah 110lb.  I added just a smidge of Copic colouring (E30 and E21) and finished it off with a  touch of Aqua Shimmer Glitter Gloss.....well it is nearly Christmas after all!


Thanks for dropping by, I will be back tomorrow with some colouring, I do hope you will join me.

Until then
Happy Colouring


10 November 2018

MFT DECEMBER RELEASE - COUNTDOWN DAY 3

Thank you for visiting my blog, I have a wonderful new stamp that will be released on Tuesday at My Favorite Things.


I started by cutting a square with the Inside and Out Stitched Square Stax from Bristol card.   To create the speech bubble I cut out the shape using Essential Speech Bubbles from a piece of masking paper and applied this to the card which I then inked with Tumbled Glass Distress ink. Once the ink was dry I added a few faint tree shapes with Copic markers.

The snowman was stamped with Cement Grey Hybrid ink on to Copic suitable card and coloured with Copic Markers. I then decided to fussy cut the snowman.


COPIC COLOURS:
Body: BG0000, BG000, C00, C0, C1, C2
Accessories: G12, G21, G24, W1, W3, W5, W6, YR12, YR18, YR21, E33, E35
Background: BG70, N0, N1

I glued the snowman on to the card after I had stamped the sentiment with Versamark ink and heat embossed it with Silver Embossing Powder.  With the use of a natural sponge, some Picket Fence Distress ink and a Sharpie Medium Point Paint Marker I added a little texture to give the appearance of snow.

The image panel was adhered to a top folding square card made from Smooth White Card.

I will be back on Release Day with another project using this month's new releases.

Until then....
Happy Colouring


9 November 2018

MFT NOVEMBER RELEASE - COUNTDOWN DAY 4

Something a little different from me today:


I started with a top folding A2 card made from After Midnight cardstock which I stamped with small snowflakes from You Make My Heart Melt and Versamark ink.

The main panel was cut from Silver Sparkle card with the new Snowflake Window die.  In fact I cut it out three times, with the second two layers being Black Licorice.  The three layers were glued together and helped make the the sparkly snowflakes more prominent.


To make it stand out further, I cut two mounts, from Black Licorice and After Midnight cardstock using stitched and plain die-namics rectangular dies.

Hope you like it, until next time
Happy Colouring


8 November 2018

MFT NOVEMBER RELEASE - COUNTDOWN DAY 5

Woo hoo, it's that time again when I start to share some of the new stamps and dies that will be coming soon to My Favorite Things


This adorable little owl is from the new Stacey Yacula stamp set - Warm and Feathered Hugs.

I cut a panel from Copic suitable card with a Stitched Hexagon Stax on which I then stamped the owl and tree with Cement Grey Hybrid ink. The image was coloured with Copic Markers.

COPIC MARKERS:
Background: B000, W1, W2, BG0000, BG70, N0, N2, N4, E30
Sled: E30, E31, E34, W2, B00
Owl: YR30, E40, E41, E70, E71, E74, E77, Y35, YR24, W8
Scarf: YG61, YG63, YG67, W2, W4, Y35


A little extra texture was created by adding a small amount of doodling with a white gel pen.

The panel was adhered to a top folding card I cut from Smooth White card using the largest Stitched Hexagon die.

I will be back tomorrow with another card.

Happy Colouring

7 October 2018

MFT OCTOBER RELEASE - COUNTDOWN DAY 2

Today I have a group of snowmen that appear to be from Wisconsin.
I may be English but my son Ben loves American sports and he's a huge Green Bay Packers fan - Go Cheeseheads!


I stamped the main image from Cool Christmas on Copic suitable card with MFT Cement Gray Hybrid ink and coloured it with Copics before cutting it out using the matching Die-Namics.

The background scene was created using the Christmas trees from the set along with additional doodling by yours truly, again with Copic markers.  The snow highlights were added later with the aid of a White Gel pen.

COPIC COLOURS:
Car: R22, R24, R27, R37, R39, N4, N6, W2, W4
Snowmen: BG0000, C0, C1, C2, Y12
Clothing: YR23, YR24, YR27, G24, G28, C5
Trees: BG90, W1, BG93, BG96, BG99
Snow: BG0000, C0, C1, R0000
Sky: B0000

The sentiment, again from the Cool Christmas set was stamped with Versamark ink and heat embossed with Wow Metallic First Frost Embossing Powder.


To give a little added dimension to the card, I adhered the die-cut snowmen in their car to the background image with foam tape, before mounting on to a plain white card base with a Cement Gray mount.

You don't have long to wait until you can put this adorable stamp set in your shopping cart!

Thank you so much for visiting my blog today.
Until next time, happy colouring.


6 October 2018

MFT OCTOBER RELEASE - COUNTDOWN DAY 3

Die cuts today with a smidge of Copic colouring!


I couldn't help myself, I just had to shade the deer to give them a little definition, what do you think?

The card base is a top folding A2 card from After Midnight cardstock.  I created the background from layers of Blue Breeze and Sweet Tooth cut using an A2 Stitched Rectangle Stax 1 die.  With the latter white card then trimmed with the Snow Drifts Die Namics.  The top white layer was adhered with foam tape for added dimension.

Subtle clouds were added with the aid of Sweet Tooth Pigment ink and small natural sponge.

As for the Delightful Deer, one was cut from Natural Card whilst the other from Kraft card, along with both sets of antlers.  Shading was added using Copic markers.  The darker deer was glued to the card whereas the paler one was adhered using foam tape, again for added dimension.

COPIC COLOURS:
Snow: BG0000, C00
Deer: E41, E42, E44, W1, W2, W4


To finish I added a heat embossed sentiment from the Snow Globe Sentiments set with Versamark ink and Wow Metallic First Frost Embossing Powder on Sweet Tooth cardstock.  Once dry I cut it out using Slanted Sentiment Strips and mounted it on to the card with foam tape.


Only a few more days to go.
What are your favourites so far?

I will be back tomorrow with another project from the upcoming release.


4 October 2018

MFT OCTOBER RELEASE - COUNTDOWN DAY 5

Hello there!
No, you are not hallucinating, I'm crafting again.

Being married to a farmer means the summer months are very busy for me and when combined with extremely painful orthodontics I decided to take a little break from Design Team work. 

Anyway, let's take a peek at what I've been working on for the October Release at My Favourite Things:


The cool thing about this little guy is that he's the "freebie" stamp for October at MFT - cute isn't he!
I stamped him on to a piece of Copic suitable card that had been pre-cut with a Stitched Square die and as always used Cement Gray Hybrid ink for my usual no-lines look!

Please note, the background was drawn and coloured by hand, it's not available as part of the stamp.

Everything was coloured with Copic markers:

Sky: B000
Snow: BG0000, BG000, C00, C0, C1, V0000, V20
Trees: N2, N3, N4, N6, YG63, YG67, YG91
Reindeer: E40, E41, E42, E43, E44, N2, N4, N6, YG91


The additional snowy touches were created using a white gel pen.  Just remember, as with coloured pencils, please ensure you have completed all of your Copic colouring before adding the gel pen.  That way you will avoid damaging your nibs.

I used Neenah 110lb white card for the top folding notecard, with a mount cut from Cement Gray card using a Square Stax Die-Namics.

Well, did you enjoy that?
Why not hop on over to the MFT blog where you will find links to my fellow Design Team members who are also showcasing various products that will be available in a few days time.


I will be back in a couple of days with another project from the upcoming October release.


4 June 2018

MFT JUNE RELEASE - COUNTDOWN DAY 2

Here is another non-Copic card from the new release:

I started with a circle card base made using the largest Inside and Out Stitched Circle die and After Midnight cardstock.  To make it look like the night sky I splattered Picket Fence Distress paint on to the card with a Splatter Brush.....oh, you've got to try it, it's so much fun, but be prepared to get "spotty" too!
Next, I stamped a sentiment from the new You Wow Me stamp set using Versamark ink which I heat embossed with White Embossing Powder.
The Fireworks Display die was cut twice, using Sweet Tooth and Blue Yonder, with the tips of each burst inked with either Sweet Tooth Pigment ink or Faded Jeans Distress Oxide.
In order to ensure correct placement of the pieces, I temporarily taped one of the negative die cuts to the card base and adhered the pieces in the spaces, carefully removing it once the glue had dried.

I cut the Wow die from Cherry Crisp card and used Sweet Tooth Pigment ink and Cement Grey Hybrid ink to add a little shading.  It was adhered to the card using foam squares for added dimension.

I'll be back in a couple of days,

SUPPLIES USED:

2 June 2018

MFT JUNE RELEASE - COUNTDOWN DAY 4

Hello there, I have something with an aquatic theme for you today:

I love the new Aquarium die and later in the post, I will share a little trick with you to make it look like it's filled with water! Of course, you need fish for the tank and the new Birdie Brown Gill Friends stamp set works perfectly.


I started with a square card base made from Sno Cone cardstock, with a Berrylicious mount.  As for the image, that was cut from a piece of Copic suitable card with the largest Inside and Out Stitched Square die.  Then, having marked out the area that the Aquarium die would sit, I stamped the fish and pondweed with Cement Grey Hybrid ink and proceeded to colour it with Copic Markers (available HERE)

COPIC COLOURS:
Fish Tank Glass: B01, BG13
Plants: BG90, BG93, G40, YG61, YG63, YG67, W1, W3
Fish: BG000, BG01, BG02, BG05, G12, YG21, YG23, Y35, Y38, W2, W8
Gravel: E40, E41, E42, E43, W2, W4

I cut out the pieces of the Fish Tank using the new Aquarium die from Gravel Grey card and some clear acetate.  In order to make the tank look like it was filled with water, I sprayed B01 and BG13 on to the acetate using a Distress Spritzer tool.

The tank was mounted with black foam tape to give added depth and dimension to the overall image. Foam tape was used to affix the extra fish and sentiment, with bubbles created with dots of White Blizzard Nuvo Glitter Drops.


I'm sure this is going to prove very popular, so be sure to set a reminder for 21:00 (EDT) 5 June when the new release will be available at mftstamps.com.

Happy Colouring

SUPPLIES USED: