Hello and thank you for visiting my blog today.
It's time for my monthly feature over on MFT Stamps blog where I share a project and provide a step by step guide as to how I went a about creating an element within it.

COPIC COLOURS:
Background: YR30, E40, E41, W0, W1, W2, W3, W4
Skin: E30, E41, E42, E43, R20, BV20
Eyes: YG61, YG63, YG67, W8
Hair: E11, E13, E15, E17, E27, W6
Mug: R22, R24, R27, R39
Jeans: B91, B93, B95, B97, N2, N6
Shoes: E11, E13, E15, E27, W4, W6
Books: B91, B93, B95, YG61, YG63, YG67, YR23, YR27, E11, E13, E40, E42, R24, R29, R39, W1, W2, W4, W5
Sweater: C00, C0, C1, C2
If you like the look of the woolly jumper/sweater then hop on over to MFT Blog to find out more.
Oh and please let me know how you get on with this technique - NB to include #mftstamps if you post it on social media, so we see it.
Until next time
Happy Colouring

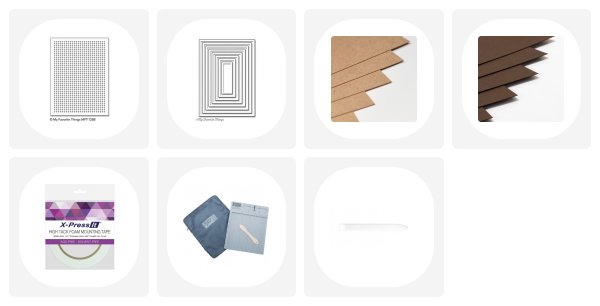
SUPPLIES USED: