Showing posts with label MFT Release Day. Show all posts

11 December 2018

MFT RELEASE DAY - DECEMBER 2018

How many items have you got on your wish list?


Before you head off to the store for that little pre-Christmas crafting treat, allow me to share my final project from this release:


Cuteness alert!  These sweet little critters are just adorable and can be found in the new "Fox and Friend" stamp set (matching dies are available too)

I opted to keep the overall design of the card quite simple, with a background from the Petite Plaid paper pad.


COPIC COLOURS:
Background: B0000, B000, G20, G40, T1, YG61, 0, YR21
Fox: YR30, E40, E21, E11, E13, E15, RV91, W9
Mouse: W0, W1, W2, W3, W4, W5, W7, RV91


As always on the day of the launch, please don't forget to leave a comment on my blog for your chance of winning one of two $100 MFT Store Vouchers......now wouldn't that be an awesome early Christmas present!

All that is left for me to say is........

Happy Shopping


13 November 2018

MFT RELEASE DAY - NOVEMBER 2018

Well, the day you have all been waiting for has finally come!
The new release is now available at MFT Stamps Store

Before you head on over and fill your basket, allow me to share with you the last of my projects for this awesome November release:


Are these adorable or what!  You are definitely going to want to add Birdie Brown's Ready, Set, Snow on your shopping list!

I stamped the images on to Copic suitable card with Cement Grey Hybrid ink and then coloured them with Copic ink.  Their goggles were created using a little Nuvo Crystal Glaze.

COPIC COLOURS:
Rabbit: T0, T1, T2, T3, T4, T5, T7, RV93, R20, E23, E27, W8
Scarf: RV32, RV34, R56, W4, W6
Goggles: R35, R39, YG63, YG67
Snowboard: RV10, RV32, RV34, R56, W1, W2, BV23, BV25, 0
Bear: E40, E41, E42, E43, E44, YG63, YG67, W8
Scarf: B21, B23, B24, B26, C4, C6, 0
Goggles: B26, C4, R29
Snowboard: B21, B23, B24, B26, B29, B99, BG02, BG07, 0, BV25, BV29, W1, W2


As you can see from the images, I opted for a tent fold Smooth White card today, using a Stitched Dome Stax for my main panel.  I cut the base from Blue Breeze, with a white layer of Smooth White.  This was then trimmed using a Snowdrifts die before being inked with Tumbled Glass Distress ink.  As I've done previously within this release I used Picket Fence Distress ink, a natural sponge and a white gel pen to give that extra snowy feel to the card.
The bear was stuck on with glue, whereas the rabbit was attached with foam tape for added dimension.
The base panel was inked and sponged as before, with the sentiment panel being stamped with Versamark ink and heat embossed with Wow Metallic First Frost Embossing Powder.

Now don't forget, as it's release day please leave a comment at the end of this post for your chance to win one of two $100 MFT Store Vouchers - you never know it could be you!

Happy Shopping
9 October 2018

MFT RELEASE DAY - OCTOBER 2018

I have a pair of adorable Robins for my release day post!


Tweet Holidays has lots of cheeky little Robins to choose from and numerous seasonal sentiments.

I chose these cute little friends, snuggled up in a scarf - please note the one on the stamp is plain, I added my own pattern when colouring it.

They were stamped with Cement Gray Hybrid ink on Copic suitable card and coloured with Copic markers and then cut out using the matching Tweet Holidays Die-Namics.

COPIC COLOURS:
Robins: YR12, E13, E41, E42, E43, E44, W00, W0, W1, W3, W5, W6, W8
Hat/Scarf: R22, R24, R27, R37, B0000, B000, C1, C2, C3, W2, W4, W5


As for the card base, I cut a piece of Smooth White card using a Stitched Square die.  Then cut a mask using a Stitched Arch Stax and adhered the negative space to the square die cut.

I sponged Tumbled Glass, Milled Lavender and Stormy Sky Distress ink on to the open area.  Once the ink had dried I dry embossed the Stitched Arch Stax on the square die cut for added dimension.  Then it was time to add a snow flurry with a White Gel Pen.

A sentiment from the Tweet Holidays set was stamped with Versamark ink and heat embossed with Wow Metallic First Frost Embossing Powder.

Both the Robins and the decorated square panel were adhered to a top folding square card base with foam tape.


It's now time to go shopping

available at mftstamps.com

But before you go, don't forget to leave a comment on my blog for your chance to win one of two MFT Store Vouchers!

I look forward to seeing what you create with this release!
Happy Colouring


6 June 2018

MFT RELEASE DAY - JUNE 2018

It's the day I am sure many of you have been waiting for, but before you head off to mftstamps.com to spend your pennies, allow me to share with you one last project:


This card was created using the beautiful Moroccan Mosaic die and Distress Oxide ink.

The card base was created using Latte cardstock, with the background mount cut from Bristol Paper using the largest Stitched Tag Corner Square Stax.  
I then used Faded Jeans, Cracked Pistachio and Antique Linen Distress Oxides to create a blended background, spritzing it with a Distress Sprayer.


The Moroccan Mosaic die was inked with the same Distress Oxides but in reverse order with the addition of Frayed Burlap on the outer edge to coordinate with the Latte card base.


Now, before you head off to shop I have some awesome news:

Orders over $60, after discounts and before shipping and tax 
will receive a free stamp set:
Happy Hello
(while stocks last)
This is in addition to the normal Free With $60 Die-namics gift.

And of course please don't forget to leave a comment here on my blog for your chance to win one of two $100 mftstamps store vouchers!


Thank you for dropping by and have fun shopping.

SUPPLIES USED:

9 May 2018

MFT RELEASE DAY - MAY 2018

Oh yes, the time has come for you to go shopping and grab all those crafty goodies you've been drooling over for the past few days...........but before you go I just wanted to share this:


 I have fallen in love with the new Birdie Brown Little Buddies stamp set - it's so cute!

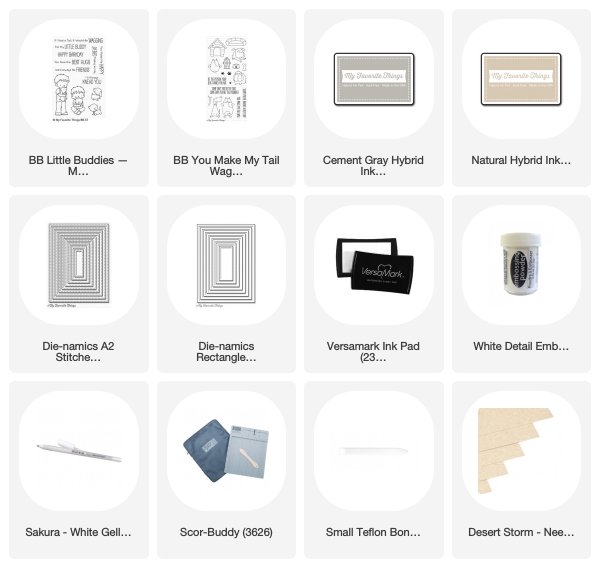
I started with a piece of 80 lb Desert Storm cardstock and cut out a stitched rectangle using the A2 Stitched Rectangle Stax 2 die set.  Then stamped the little boy off centre with Hybrid Cement Grey ink and coloured him with Caran D'Ache Luminance pencils.   


You can just about see the paw prints I stamped once all the pencil work had been completed.  In hindsight I should have double stamped them as the Natural Hybrid ink became far too pale as it dried on the card - but if like me you have a Misti, double stamping will prove no problem and alleviate this issue.


The sentiment, from You Make My Tail Wag balanced the composition. I used Versamark ink and heat embossed with White Embossing Powder.

OK, you've been good and read the blog post..................

But before you go, please don't forget to leave a comment on my blog in the section below - you never know you could be the lucky winner of a $100 MFT Stamps gift voucher!

NOW YOU CAN GO SHOPPING!!!!
(and please share what you create  #mftstamps )


SUPPLIES USED:

4 April 2018

MFT RELEASE DAY - APRIL 2018

We have certainly been spoilt this month with the huge Birdie Brown release!

Here is my latest colouring of one of Torico's wonderful images:

I challenged myself to try using my pencils on something other than kraft, which I confess is my favourite surface for pencil drawing.  The main difference with using After Midnight was that I had to stamp the image with Sweet Tooth Pigment ink instead of my usual Cement Grey Hybrid.

Then, with images of umbrellas, ducklings, raincoats and puddles on my iPad for reference I coloured the little girl with Caran D'Ache Supracolor Soft.  These pencils are the water soluble version of the Pablo's that I usually use but the leads are softer.  This means they produce a small amount of dust when colouring, so a good dusting brush is imperative.  If you try and wipe it away with your hand you'll undoubtedly smudge your work.

My brush is not an artist brush, it's found in DIY stores!  The soft bristles are glued in, so no annoying hairs fall out when used.  It's large, flat surface clears my work area of pencil dust in a couple of sweeps.  I used to use a make up brush as a student.........not any more!


As I wanted Torico's adorable image and my colouring to be the focal point, I kept the card somewhat plain and simple.  I used the A2 Stitched Rectangle Stax, probably my favourite go to die set and a corresponding plain die, mounting them on a tent fold A2 card, which I trimmed to fit.


I am sure you're itching to go shopping at MFTStamps.com so I'll just remind you that if you leave a comment on my blog you may be the lucky winner of a $100 MFT Gift voucher.......just think of all the crafting goodies you could buy with that!

Happy Colouring

SUPPLIES USED:

7 March 2018

MFT RELEASE DAY - MARCH 2018

Woo hoo, the day you've all been waiting for has finally arrived.  But before you head off to mftstamps.com to shop for this new release, allow me to share my latest card with you:


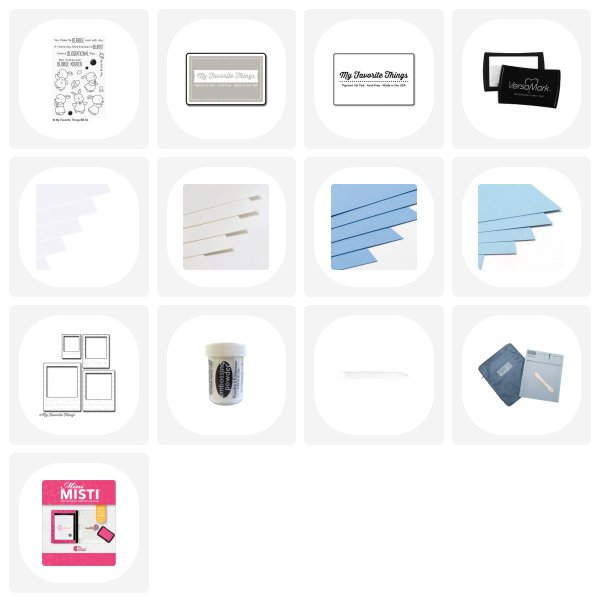
I used to have pet rabbits, so I couldn't resist colouring these little cuties by Birdie Brown.  The set is called Bubble over with joy.

The background was created using the solid bubble stamps from the set which I stamped with MFT Sweet Tooth Pigment ink.  I then stamped the sentiment with Versamark ink and heat embossed it with White Embossing Powder.

The bunnies were stamped on Copic suitable card with Hybrid Cement Grey ink and coloured using a combination of Copic Markers (available HERE) and coloured pencils.

Copic Colours used:
Bubble blowing rabbit: E40, E41, E42, W1, W2, W3, R20, R11, R21, B14, B18, W10, RV91, B91
Bubbles: BG0000, BV000, N0, N1
Blue Bunny: E40, E41, E42, W1, W2, W3, R20, B12, B14, B16, B18, YG63, W10
Dotty Bunny: B91, B93, B95, B97, B99, E13, E15, W10, E40, E41, E42, W1, W2, W3

I made two of the images into photographs using the Precious Polaroids die set, whilst the bubble blowing bunny was mounted with foam pads to give her added dimension.


But before you dash off to fill your baskets with this months goodies, don't forget to leave a comment here on this blog for your chance to win one of two $100 MFT Store vouchers.

Don't forget, if you liked my card to day you can see more of my work here:

Have fun shopping!

SUPPLIES USED:

7 February 2018

MFT RELEASE DAY - FEBRUARY 2018

Oh yes, it's Release Day, but before you head off to MFTstamps.com to fill your shopping baskets allow me to share my latest card from the February release.


I smiled when I saw this particular sentiment on the new Anything but Basic Birthday Wishes, a motto to live by if, like me, you have a sweet tooth!

So I went through my MFT stamp collection and picked out all my favourite cake images along with the new ones from the Birthday Chicks set.  This card involved quite a bit of masking and layering but the finished composition was worth the effort.........I think you'll agree, it's cake heaven!

The images were stamped on to Copic suitable card with my go to ink, Hybrid Cement Gray and coloured, firstly with Copic Markersthen coloured pencil, for additional detail.

COPIC COLOURS:
Background: YR0000, YR000, V0000, V000, V01, W0, W1
Giant Cupcake: B21, B23, B26, B32, C00, C0, C1, C2, C4, C6, E70, E71, E74, E77, E79, W8
Chick: Y11, Y21, Y23, Y26, Y28, YR24, B14, W1, W2, W3
Cake stand: C00, C0, C1, C2, C4
Hat: G12, Y32, R83, Y38, B12, W1
Small Cakes: E40, E41, E42, R20, R21, R22, W1, W2, R11, B000, BV000, G20, C00, C0, C1, E50, E51, E53, E21, E23, E27, E31, E33, E35, YR30, R0000, R000, R00, R01


As it's Release Day, please don't forget to leave a comment on my blog for your chance to win one of two $100 MFT Gift Vouchers that we are giving away, you never know it could be you.

Happy Shopping!

Oh and don't forget you can see more of my work on my FACEBOOK PAGE and INSTAGRAM


SUPPLIES:

10 January 2018

MFT JANUARY PRODUCT LAUNCH

It's time for one last card before you rush off and fill your baskets with all the new products that are available today.


This project started out with a top folding A2 card base, made from MFT Smooth White card.
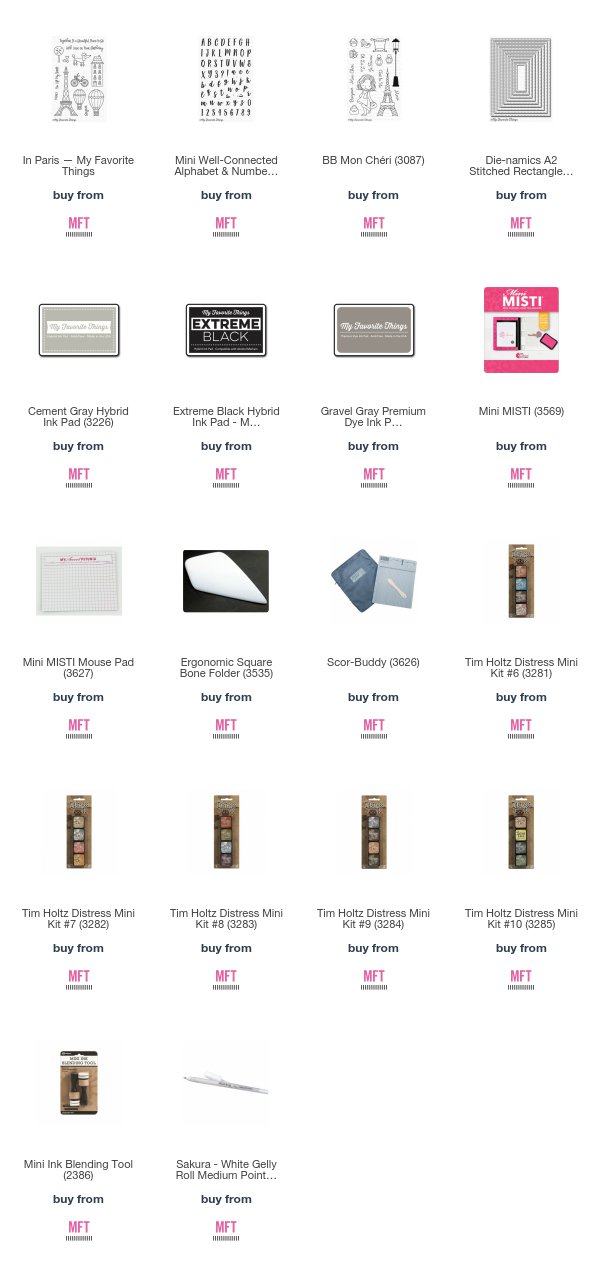
A piece of Bristol paper was then inked with Distress ink using a blending tool to create the basic background.  This was then cut with the largest from the A2 Stitched Rectangle Stax 1.  The Eiffel Tower, from the new In Paris stamp set was stamped on to the coloured piece with Premium Gravel Gray ink.  At this point, I referred to images of the real Eiffel Tower to assist in creating an authentic scene.  I opted for Caran D'Ache Neocolor II, water-soluble wax pastels to add dimension to the tower and create the parkland background.  The clouds were created with an Adirondak Acrylic Paint dabber. Using the new Mini Well-Connected Alphabet, I stamped Bonjour, with the new Hybrid Extreme Black ink.

The young girl from Mon Cheri was stamped with Hybrid Cement Grey ink on Copic suitable card and coloured with Copic (available HERE) and Caran D'Ache Pablo pencils.

COPIC COLOURS:
Skin: E0000, E0000, E40, E41, E42, BV20, BV23
Eyes: B21, B23, W8
Hair: E13, E21, E23, E25, E27, W8
Scarf: YG61, YG63, YG67, C6
Dress: B21, B23, B26, B95, B97, C6, C7
Bag/Shoes: B12, B14, B16, B95

Once coloured, I cut her out by hand and adhered her to the card with foam pads for added dimension.  A small amount of pencil was used to ground her and the sentiment.

Now for the words you have been waiting for:


Before you go, don't forget to leave a comment for your chance of winning a $100 MFT store Gift Voucher.........it could be you!

Thanks for dropping by my blog today and remember you can also find me here: FACEBOOK and INSTAGRAM

Happy Colouring


SUPPLIES:

6 December 2017

MFT RELEASE DAY - DECEMBER 2017

It's that day so many of you have been waiting for.......
MFT December 2017 Release Day!!

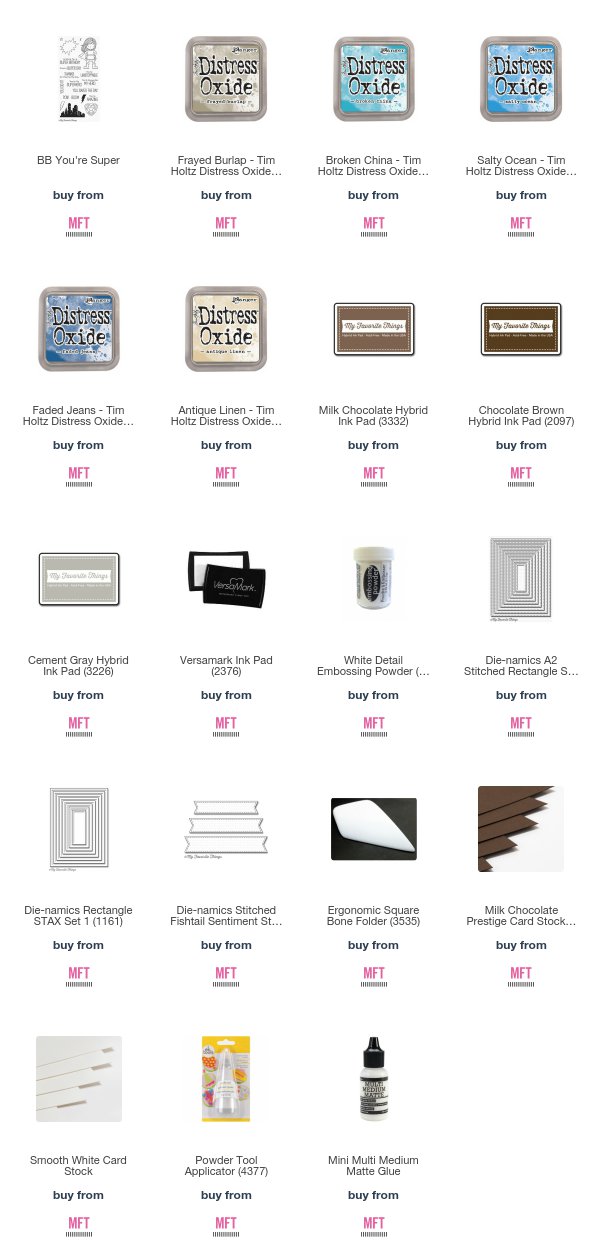
You should know me by now, faces are my favourite thing to colour, so I could not resist making another card using the re-released Birdie Brown "You're Super" stamp.


The background was created by masking off the bottom portion of a piece of card with post it tape, allowing for the top section to be inked with Distress Oxides.  Have you tried these yet?  They blend beautifully, but be prepared to get inky fingers........or was that just me being messy.
The water section was done in the same way, ensuring that this was a little greener than the sky. It was then spritzed with water to give it texture.  By adding Frayed Burlap ink at the very bottom, an area on which the little girl could stand was created.

Once dry, the cityscape from the You're Super stamp set was stamped on to the cardstock with MFT Hybrid ink and highlights and shadows were added with Caran D'Ache Luminance pencils.  They were used to create the reflections in the water too.  The background was then cut out using a die from the A2 Stitched Rectangle Stax and mounted on to a piece of Milk Chocolate card cut from the A2 Rectangle Stax........these are definitely my go to dies for card making!

Supergirl was stamped with MFT Hybrid Cement Gray ink on Copic suitable card and coloured with Copics.

COPIC COLOURS:
Skin: E0000, E000, E00, E40, E41, E42, W1, R20
Eyes: B93, B97
Cape: R24, R29, R39, RV69, RV99
Suit: B24, B26, B29, B37, B39, Y35, Y26, Y28, W2, W3, W4, W6
Boots: R24, R29, R39, RV69, RV99, W4
Hair: E11, E13, E15, E17, W4, W6

As for the sentiment, the wording was stamped with Versamark ink on heat resistant vellum and heat embossed with white embossing powder.  It was then cut out with a Stitched Fishtail Sentiment Strip.

Having glued the background to the A2 card base, foam squares were used to adhere Supergirl to the scene - it was only fair she should stand out on her card!

at 

Thanks for dropping by and don't forget to leave a comment for your chance of winning a $100 MFT Store Voucher.......just think how many extra crafting goodies you could buy!


SUPPLIES

8 November 2017

MFT RELEASE DAY - NOVEMBER 2017

Well, the day you have all been waiting for has finally arrived.
To celebrate the launch I created this fun scene with a Ski-Jumping Bear!


The adorable little bear is from the new Ski-sons Greetings stamp set and Die-Namics.  I opted to stamp him in Hybrid Cement Grey ink, enabling me to use the no-lines technique, giving a softer look to the image.  As you can see, I gave him a stripy scarf and added texture to his sweater as well as giving him fuzzy fur (my students will recognise these techniques)

Colouring the background was so much fun.  I first cut out a piece of Copic suitable card with a Stitched Square die.  Then, having Googled for images of snow scenes, I picked one that inspired me to draw and colour my own upon which to have my bear flying down the slopes.  I used a Picket Fence Distress Marker to add the snow to the pine trees, ensuring that I had finished my Copic colouring first.  

To add dimension and a little comedy to my card I attached my die cut bear to the card with a mini wobble spring.

in store at MFTstamps.com

Happy Shopping!

COPIC COLOURS:
Fur: E40, E41, E42, E43, E44, E47, W1, E11
Nose/Snout: E40, E41, E43, W1, W5, W7
Eyes: E97, E99, W8
Scarf: YG61, YG63, YG67, C0, C2, C3, C5
Sweater: BG72, BG75, BG78
Skis: W1, W2, W3, W4, W5
Trees: BG90, BG93, BG95, BG99, C1, C2
Snow/Mountains: BG0000, C00, C0, C1, C2, C3, BV0000, B41, V20
Sky: B000, B91, B32