Showing posts with label Copic. Show all posts

25 October 2018

MFT COLOUR CHALLENGE #104

Hello and welcome to my blog, thank you for dropping by.

I am playing along with the current MFT Colour Challenge and I'd love you to join in.


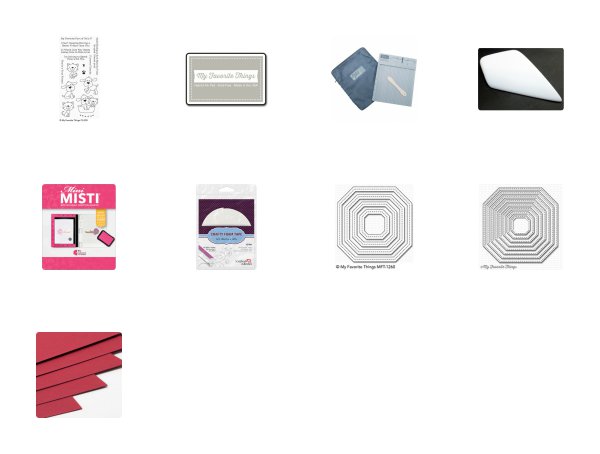
All you have to do is create a project using the above colours and enter it


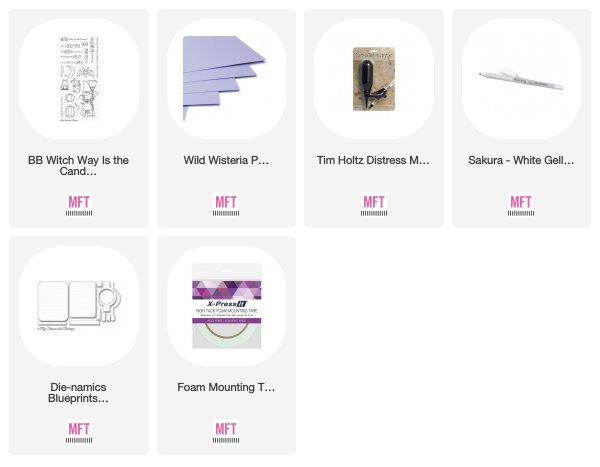
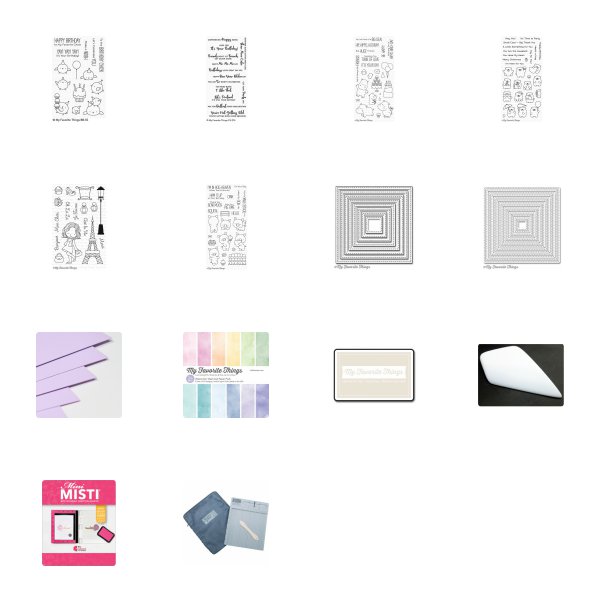
As we are getting close to Halloween, I chose to use this cute little cat from Birdie Brown's Witch Way is the Candy?

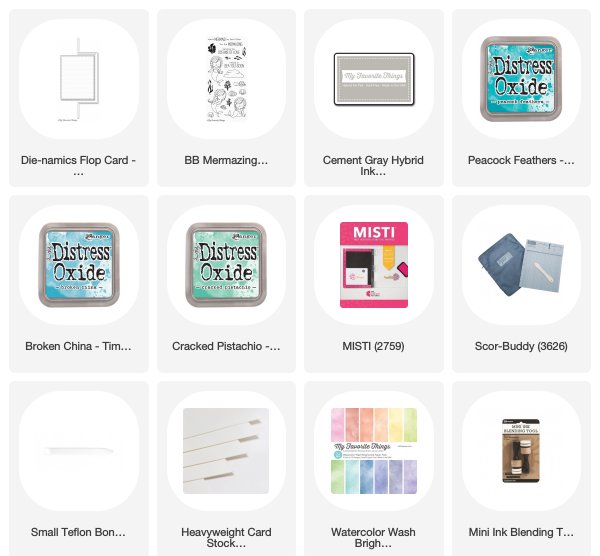
Having stamped the images with Cement Grey Hybrid ink, I masked them with some post-it tape before spritzing some YR15 and BV02 using a Distress Marker Spritzer Tool.

I then removed the tape and proceeded to colour the images with the colours in the challenge.


COPIC COLOURS
Background: YR15, BV02
Pumpkins: YR21, YR12, YR15, YR24, YR18, B91, B93, E81, E84, C2
Cat: BV02, C2, C4, C6, C8, B0000, B000, C8, E81, C2
Bow tie: BV08, BV13, BV17
Ground: W00, W0, W1, W3, W5, W7

I created a shaped card with the aid of Blueprints 31, mounting the image panel with foam tape on Wild Wisteria cardstock.

Why not have a go, you never know you may the lucky winner of a $50 MFT Gift voucher.

Until next time
Happy Colouring


1 May 2018

MFT - HITS AND HIGHLIGHTS APRIL 2018

Well hello there, thanks for visiting my blog today.

I'm sharing a project that saw me get rather inky fingers, but oh boy I had fun!


"Flip for the Flops"


Yes, today the Design Team are sharing their Flop cards with you and here is mine:


I chose to use the Flop Card Rectangle die, teaming it up with a beautiful mermaid from Birdie Brown's Mermazing stamp set.

The A2 card base made from MFT Smooth White cardstock was inked with a combination of Broken China, Peacock Feathers and Cracked Pistachio Distress Oxide ink (hence the blue fingers).  The front fold and inside are inked, the back of the card remained white.

The front stitched panel which comes with the Flop Card Rectangle die was cut from Copic suitable card.  The image was as always stamped with Hybrid Cement Grey ink.

Hint/Tip: my eyesight is not great and I find that for me Grout Grey dries too light and Gravel Grey is still far too visible after colouring to be suitable for most no-lines colouring projects.


COPIC COLOURS (available HERE)
Skin: E30, E41, E42, E43, E44
Hair: YR23, YR27, E37, E97
Tail: B02, B04, B06, BG34, BG45, YG03
Top: BV00, BV02, BV04
Eyes: B12, B16, W8
Background: BG10, BG11, B00, 0


The inner sentiment panel was cut using the same stitched rectangle as above from Watercolor Wash Brights with a sentiment from Mermazing stamped with Blue Yonder Hybrid ink.

As my fingers resembled those of a smurf by this stage.........it attracted the attention of a cute little guy who I suspect has a bit of a crush on the mermaid LOL


I hope this has inspired you to give this type of card a try.

Thanks for dropping by, until next time
Happy Colouring


SUPPLIES USED:

28 March 2018

MFT WEDNESDAY SKETCH CHALLENGE #378

Hello there, and how are you today?

I'm back to share my latest card for this weeks Wednesday Sketch Challenge:


I stamped the dragon from Magical Dragons by Birdie Brown with Hybrid Cement Grey ink on to Copic suitable card.  Initially I was just going to use Copics but I then added a smidge of pencil too.

Copic Colours:
(available HERE)
Dragon: B0000, B000, B01, B12, B45, B52, BV000, BV00, BV01, E41, E42, E43, E13, E17, C2, C3, C4, W8

Once the dragon was coloured, I opted to create my own background by dry embossing a small Stitched Mini Scallop Square on to a piece of Bristol Paper.  I then cut a piece of masking film with the same die and adhered it to the embossed area.  At this point I inked the card with a combination of Tumbled Glass and Milled Lavender Distress ink.  This was then spritzed with water.  To add a little more dimension I watered down some Picket Fence Distress Paint and used a Distress Splatter Brush to flick paint across the inked card, oh and myself!  Once dry, I removed the masking film and inked clouds into the centre piece with the Mini Cloud Edges Stencil and Tumbled Glass ink.

The sentiment, again from the Magical Dragons stamp set was stamped with Versamark ink and heat embossed with White Embossing Powder.

The background was mounted on to a top folding A2 card base with the Dragon attached with foam squares to add a little dimension to an otherwise very simplistic card.

A few drops of Nuvo White Blizzard were added for a bit of sparkle and there we have it, my interpretation of this weeks sketch.

For your chance to win a $50 MFT Store voucher please join in with us on the Challenge Blog.

Happy Colouring

SUPPLIES:

23 March 2018

ARTISTIC EXPRESSION MARCH 2018

Hello everyone, believe it or not it's officially Spring in the Northern Hemisphere.......I just think someone forgot to remind Mother Nature (we had snow last week here in England!)

Hence, for this months Artistic Expression, I chose to colour something warm, bright and sunny......calling upon the assistance of a parrot and some beautiful Hawaiian blooms.


To read the feature in full please hop on over to the MFT Blog.

7 March 2018

MFT RELEASE DAY - MARCH 2018

Woo hoo, the day you've all been waiting for has finally arrived.  But before you head off to mftstamps.com to shop for this new release, allow me to share my latest card with you:


I used to have pet rabbits, so I couldn't resist colouring these little cuties by Birdie Brown.  The set is called Bubble over with joy.

The background was created using the solid bubble stamps from the set which I stamped with MFT Sweet Tooth Pigment ink.  I then stamped the sentiment with Versamark ink and heat embossed it with White Embossing Powder.

The bunnies were stamped on Copic suitable card with Hybrid Cement Grey ink and coloured using a combination of Copic Markers (available HERE) and coloured pencils.

Copic Colours used:
Bubble blowing rabbit: E40, E41, E42, W1, W2, W3, R20, R11, R21, B14, B18, W10, RV91, B91
Bubbles: BG0000, BV000, N0, N1
Blue Bunny: E40, E41, E42, W1, W2, W3, R20, B12, B14, B16, B18, YG63, W10
Dotty Bunny: B91, B93, B95, B97, B99, E13, E15, W10, E40, E41, E42, W1, W2, W3

I made two of the images into photographs using the Precious Polaroids die set, whilst the bubble blowing bunny was mounted with foam pads to give her added dimension.


But before you dash off to fill your baskets with this months goodies, don't forget to leave a comment here on this blog for your chance to win one of two $100 MFT Store vouchers.

Don't forget, if you liked my card to day you can see more of my work here:

Have fun shopping!

SUPPLIES USED:

5 March 2018

MFT MARCH RELEASE - COUNTDOWN DAY 2

Not long to wait now!

But until then here are some adorable little puppies......they appear to be far better behaved than my Westie, Pip!

A lot of masking went in to creating this one, but they do look cute together.

I stamped then with Gravel Grey Hybrid ink this time, colouring them with Copic markers (available HERE)

COPIC COLOURS USED:
Chihuahua: E31, E33, E35, E37, W3, RV93, W2, W10
Old English Sheepdog: E40, C00, C1, C2, C3, C5, C7, W2, W10
Hound #1: E70, E71, E74, RV93, W2, E30, W5, W10
Dalmation: T0, T1, T2, T3, T5, T7, W10
Hound #2: E51, E53, E55, E57, W10, RV93, W2
Poodle: YR30, E42, E43, E81, W10
Hound #3: C0, C1, C2, C3, C4, V20, BV23, W10
Grass: G40, YG61, YG63, C4
Sky: B0000, B000
Collars: R24, BG05, B24, W4

To die cut the main image, I used the largest die from A2 Stitched Rectangle Stax 1.  I cut it once as normal, then for-shortened the height of the rectangle but fitting the cut panel back in to the die taking off the additional area below the dogs that I did not want to use.  If you do this with care, you can line up the stitch marks to ensure a seamless finished panel.

I added a small border of Black and White Stripes paper top and bottom, mounting it all on to a top folding card base.


Don't forget to leave a comment on the MFT Blog for your chance to win a £75 store voucher.

I'll be back on release day, so until then......
Happy Colouring


SUPPLIES USED:
(NB some links will not work until day of release)

2 March 2018

MFT MARCH RELEASE - COUNTDOWN DAY 5

Well hello there, this card is for anyone who is need of a card for an older friend or relative
(with a sense of humour!)


This funny little guy, along with some friends from the Delightful Dinosaure set will be available from 9:00pm on 6 March at mftstamps.com

For this card, I used my Copics on Neenah (80lb) and then added extra detail with coloured pencils.

Copic Colours - available HERE
Dinosaur: YG13, YG17, YG63, C4, C6, C7, R20
Eyes: E97, E99, E27, W8
Background: E42, E43, E44, E47, W1, W2

To give the appearance of age to the card, I inked the edge of the die cut image panel with a combination of Antique Linen and Frayed Burlap Distress ink.  I also inked the edge of the Gumdrop Green border.


Don't forget to leave a comment on the MFT Blog for your chance to win a $75 store voucher.

If you like what I've done today you can see more of my work on my Facebook Page and Instagram

I will be back in a couple of days with another teaser from the upcoming March release,
until then.....

Happy Colouring


SUPPLIES:
(NB Some links will not go live until release day)

23 February 2018

ARTISTIC EXPRESSION FEBRUARY 2018

Hello everyone, we've travelled to Scandinavia for today's Artistic Expression.


Each month I explain a technique that I have used within my work and this month you can learn how to make a set of circles look 3 dimensional simply by adding shading.

To find out more please visit the MFT Blog

Happy Colouring


P.S. I've been collecting these little blue guys since I was a kid so I couldn't resist including my Viking Smurf!


21 February 2018

MFT - WEDNESDAY SKETCH CHALLENGE #373

You know the drill by know, we share a sketch, you interpret as you wish and enter it
You never know, you could be the lucky winner of a $50 MFT Stamps Store voucher!

So here is this weeks sketch:
and here is my interpretation of it:

As you can see I moved the sentiment down to the lower half of the circle, otherwise the poor elephant would have had to play peek a boo with the card's recipient.

Clean, simple and nearly 100% Copic, with a smidge of pencil on the flowers.
Copic Colours - Available HERE

Background: B0000, B000, G40, G12, G21, YG0000, W1, W3, W5, YG61, YG67
Elephant: C00, C0, C1, C2, C3, C4, C6, W1, W2, B14, B16, W8, V91, V93, V95, R20, R21, N3
Flowers: Y11, Y23, Y28, R20, BV01

Thanks for visiting my blog today, I hope it has inspired you to get creative and join in this weeks challenge.

Happy Colouring

SUPPLIES:

16 February 2018

MFT AND CHIBI TRONICS


Hello there, now I confess this is a first for me, as I'd never used Chibi lights before this collaboration and I have to say I am pretty pleased with the results.

As a complete novice, I kept mine simple, but hey, my little Yeti's heart lights up when you press the button, which makes me smile......that's what counts right!


My card base is a top folding square card using MFT Sno Cone cardstock.  The main background was created using Bristol paper that I cut and dry embossed with 2 Stitched Square dies.  This was then inked with Tumbled Glass Distress ink.

The adorable little beast was stamped on to Copic suitable card with Hybrid Cement Grey ink and coloured with a combination of Copic Markers, coloured pencils and white gel pen.

COPIC COLOURS:
Face: E0000, E000, E00, E40, E41, R20, W1, W2
Eyes: YG61, YG67, W8
Fur: BG000, W1, W2, W3, W4, W6

A tiny heart hand punch created his heart with the button being made from a die from Blueprints 29.
Additional sparkle was created with Nuvo drops and a Wink of Stella pen.

Here is the Yeti with his heart lit up:


It is lit up I promise....I took another photograph in the dark to prove it!


As a complete beginner, rather than me clumsily trying to explain how I used the Chibi's I shall instead direct you to a fabulous YouTube video HERE produced by my Design Team mate Karolyn......she's awesome and her clear instructions really helped me complete this task with ease!

If you have not done so already be sure to visit the MFT Blog not only for links to all the Design Team members joining in today but for your chance to win some Chibi lights!

Many thanks for dropping by


SUPPLIES

7 February 2018

MFT RELEASE DAY - FEBRUARY 2018

Oh yes, it's Release Day, but before you head off to MFTstamps.com to fill your shopping baskets allow me to share my latest card from the February release.


I smiled when I saw this particular sentiment on the new Anything but Basic Birthday Wishes, a motto to live by if, like me, you have a sweet tooth!

So I went through my MFT stamp collection and picked out all my favourite cake images along with the new ones from the Birthday Chicks set.  This card involved quite a bit of masking and layering but the finished composition was worth the effort.........I think you'll agree, it's cake heaven!

The images were stamped on to Copic suitable card with my go to ink, Hybrid Cement Gray and coloured, firstly with Copic Markersthen coloured pencil, for additional detail.

COPIC COLOURS:
Background: YR0000, YR000, V0000, V000, V01, W0, W1
Giant Cupcake: B21, B23, B26, B32, C00, C0, C1, C2, C4, C6, E70, E71, E74, E77, E79, W8
Chick: Y11, Y21, Y23, Y26, Y28, YR24, B14, W1, W2, W3
Cake stand: C00, C0, C1, C2, C4
Hat: G12, Y32, R83, Y38, B12, W1
Small Cakes: E40, E41, E42, R20, R21, R22, W1, W2, R11, B000, BV000, G20, C00, C0, C1, E50, E51, E53, E21, E23, E27, E31, E33, E35, YR30, R0000, R000, R00, R01


As it's Release Day, please don't forget to leave a comment on my blog for your chance to win one of two $100 MFT Gift Vouchers that we are giving away, you never know it could be you.

Happy Shopping!

Oh and don't forget you can see more of my work on my FACEBOOK PAGE and INSTAGRAM


SUPPLIES:

6 February 2018

MFT FEBRUARY RELEASE - COUNTDOWN DAY 1

Hello everyone, it's nearly time for you to be able to buy the February release.....what has been your favourite so far?

Today, I have a little card with a lot of "cattitude"
using the Furever Friends stamp set:


The card base was created by cutting out the largest Single Stitch Line Tag-Corner Square Frame from the same Copic suitable card that I used for my image.  I then trimmed a square, top folding cardbase to match the frame shape, making allowance for a small border.
The image was stamped on Copic Suitable card with Hybrid Cement Gray ink and coloured with both Copic and coloured pencil.

As you can see, I added a smidge of additional detail to the original stamp, including making the cat look mean and moth eaten, mwah ha ha!  Anyone else feel sorry for the poor pooch who appears to have an unwelcome lodger taking over his bed?


As always, here is the list of Copic Markers used:

Bed: R35, R37, R39, RV69, W6
Cat: N1, N3, N4, N5, N7, N8, W8, YG63, YG67
Dog: W00, W0, W1, W2, W4, W7, W8, W10, E11, E13, E15, E17, E18, E21


Not long now before you can go shopping.
I have something pretty special to share for the February launch.....I've been masking like crazy to create a special card....so please come back later to find out more!

Don't forget to visit the MFT Blog to see what my fellow Design Team members have been creating and remember you can also see my work on my FACEBOOK PAGE and INSTAGRAM

Happy Colouring

SUPPLIES: