We are nearly there, not long to wait now!
The new release will be available on the MFT online store
9th January 21:00 EST (that's 02:00 10th January for us Brits!)
Today, I am sharing several of the new products: Monster Sized Stamp, Full of Heart stencil and Love You die.

I started by stencilling a piece of Smooth White Card with Distress inks and a mini blending tool and then cut it out using a A2 Stitched Rectangle Stax die. The lettering was cut twice, again from Smooth White card. Having adhered one set on top of the other, the tops were painted with Wink of Stella Clear to add a little sparkle and once dry finished off with Glossy Accents.
The Monsters were stamped on to Copic suitable card with Hybrid Cement Gray ink and coloured with Copics - available at MFT
HERE
COPIC COLOURS:
Green Monster: N0, N1, N2, B0000, W2, W4, W6, G12, G21, G24, BV01, BV02, BV04, 0, YR30, BG90, BG93, BG96
Blue Monster: B91, B93, B95, N0, N1, N2, C4, C6, YR30, R0000, R000, R00, R85
Lilac Monster: V91, V93, V95, T1, T3, T4, T6, G0000, G000, G00, YR30, B93
As I had stamped the Monsters with pale grey ink I was able to change their pupils from round circles to hearts!
For more inspiration and links to my fellow MFT Design Teamies amazing projects for todays countdown why not visit the MFT Blog
HERE
Thank you for dropping by today, don't forget you can also see more of my work on my
Facebook Page and
Instagram
Happy Colouring
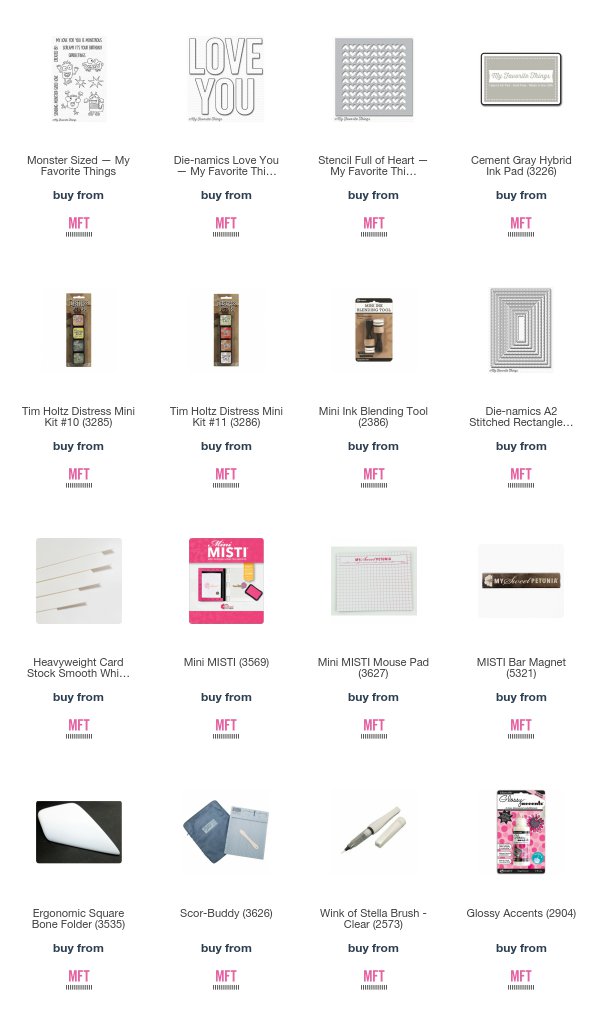
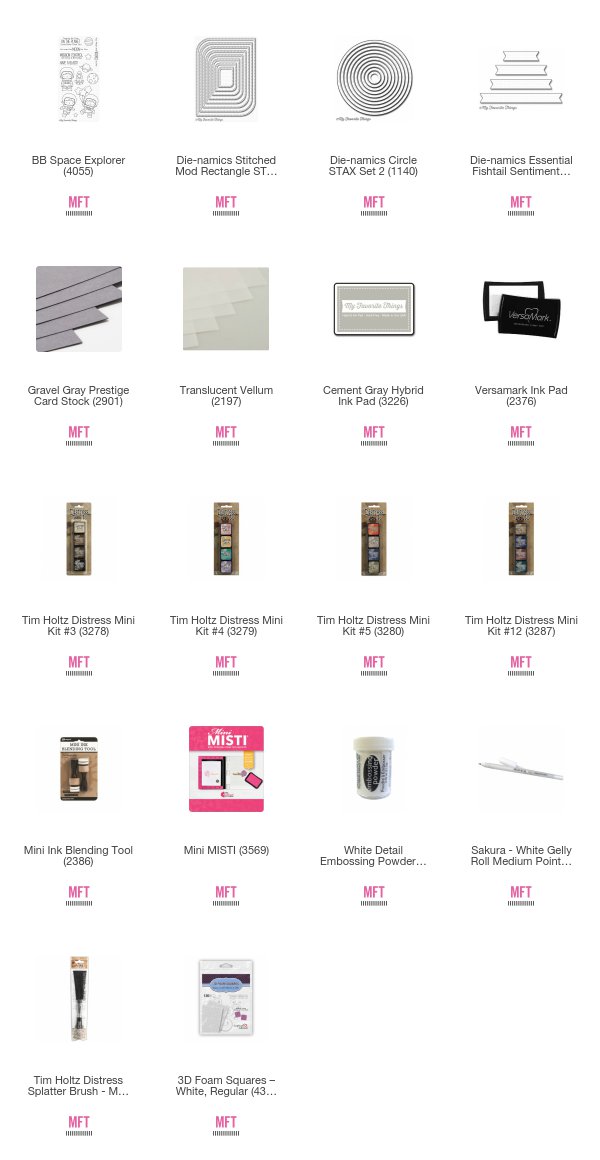
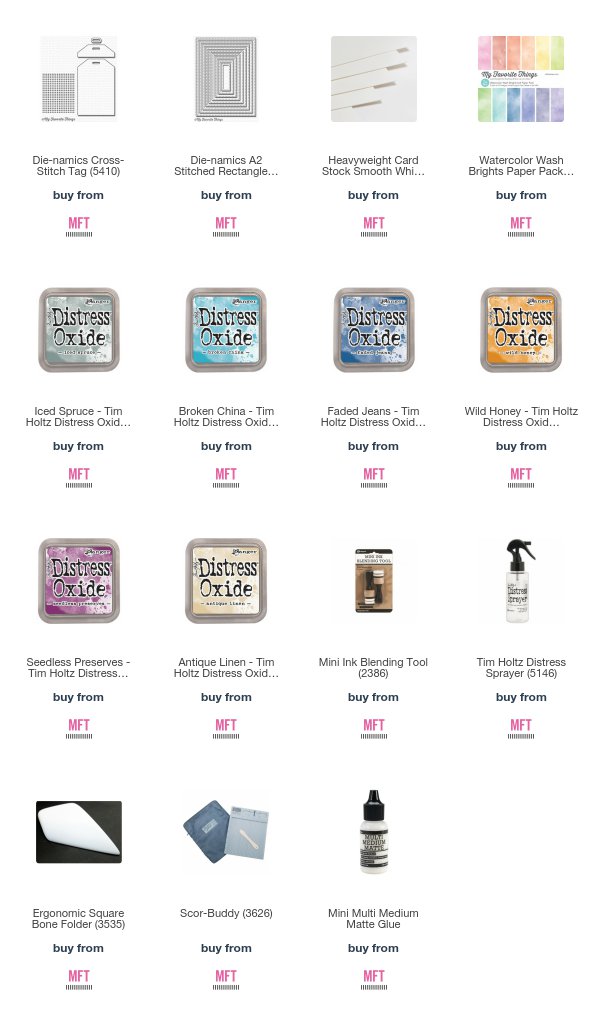
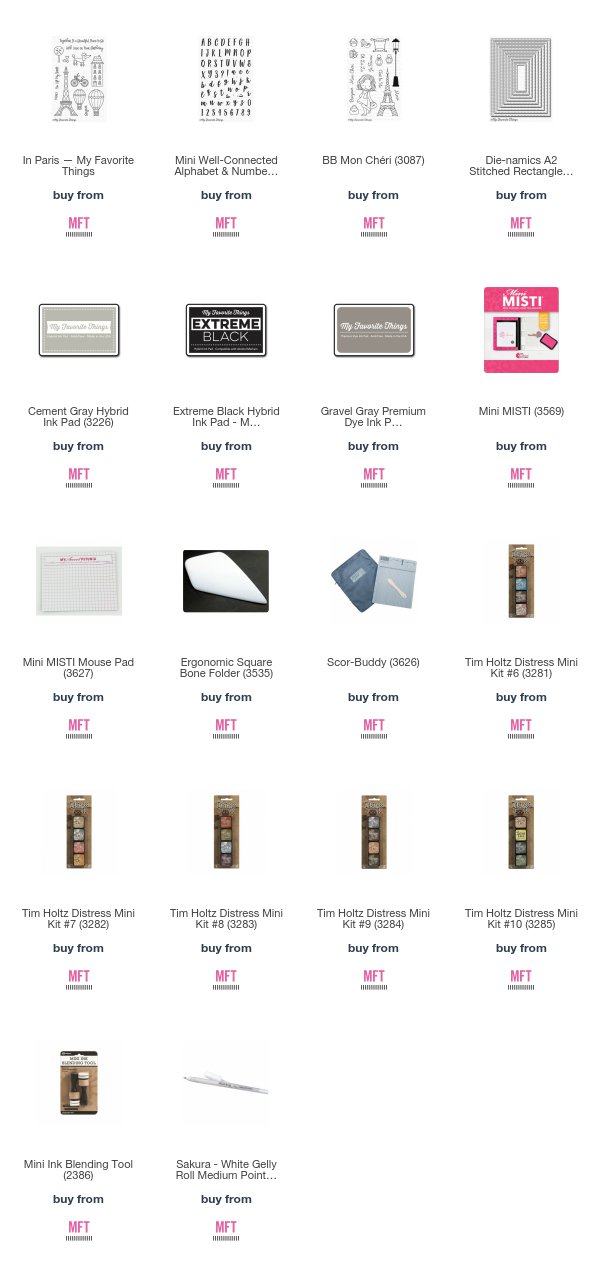
SUPPLIES:
(NB The links to new products will not work until release day)