Here is my card for Day 4 of MFT's April Release Countdown.

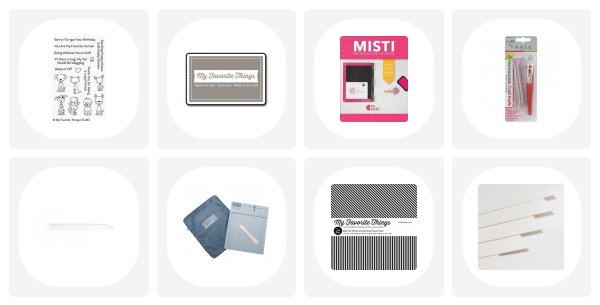
The central image was stamped on to Kraft card with Hybrid Cement Gray ink - and coloured with a combination of Caran D'Ache Supracolor Soft pencils and Caran D'Ache Neocolor II crayons.
I loved using the crayons, they really made colouring the puddle a pleasure.
The Supracolor Soft pencils come in the exact same colours as the Pablo's I normally use, however, these are water soluble and a tad softer, making blending a breeze.
Once coloured, I cut the image out with a die from the A2 Stitched Rectangle Stax 2, mounting it on to two layers of blue cardstock cut using A2 Rectangle Stax 1 & 2. The cardbase itself is an A2 tent folding card made from MFT Smooth White.

Happy Colouring

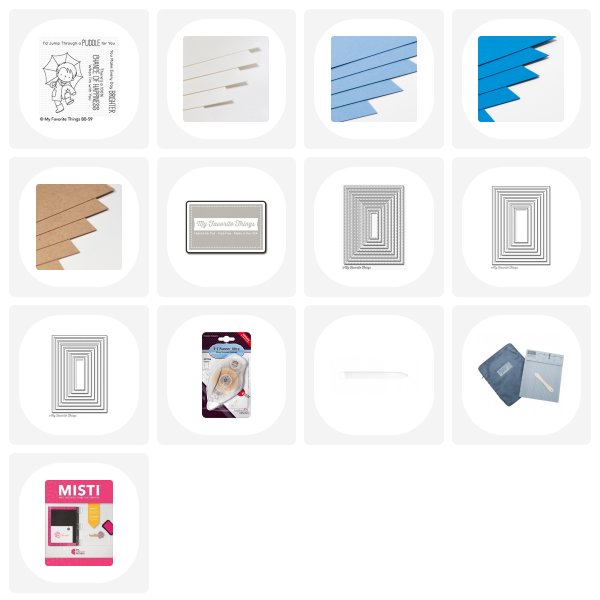
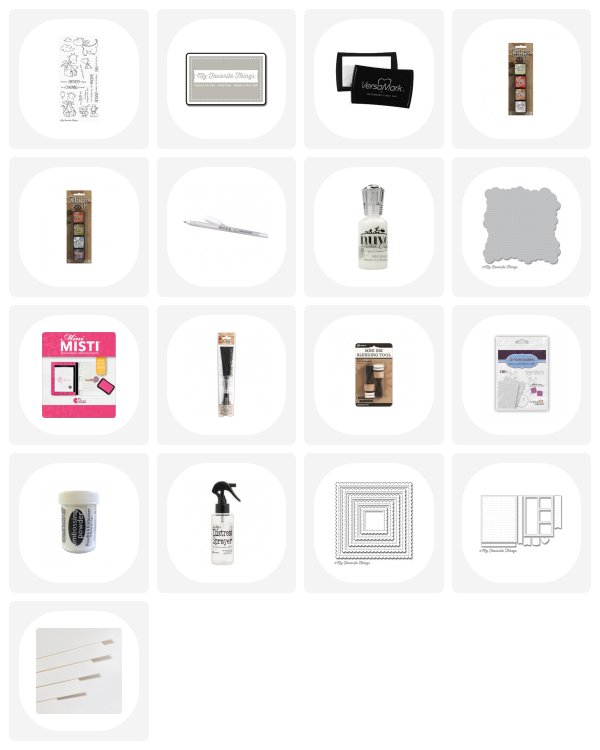
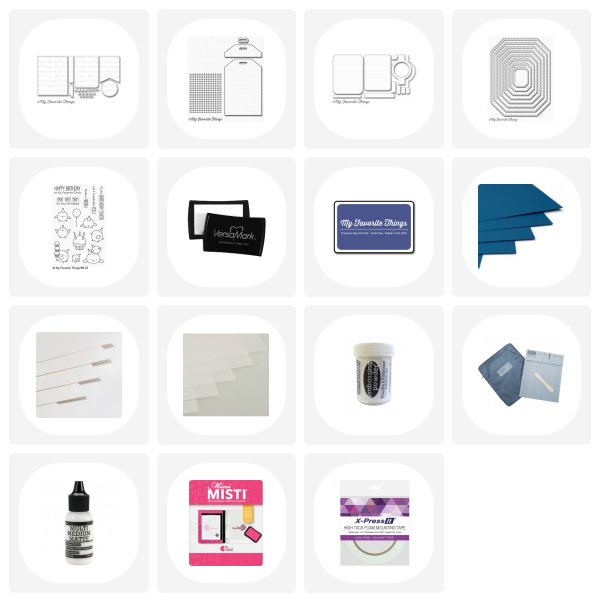
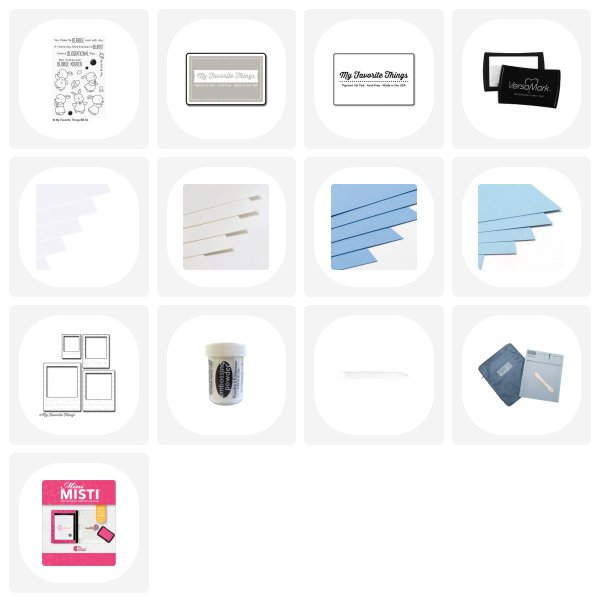
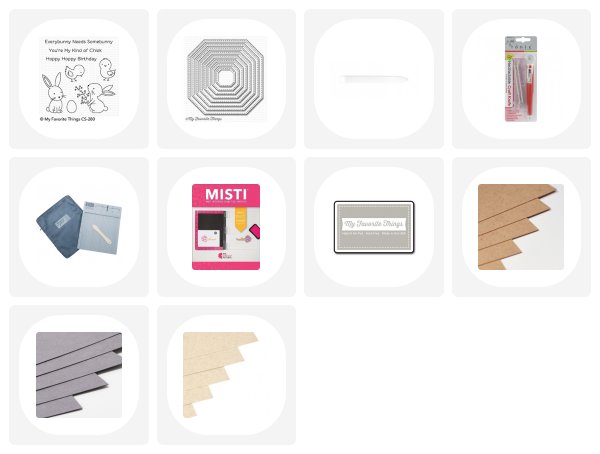
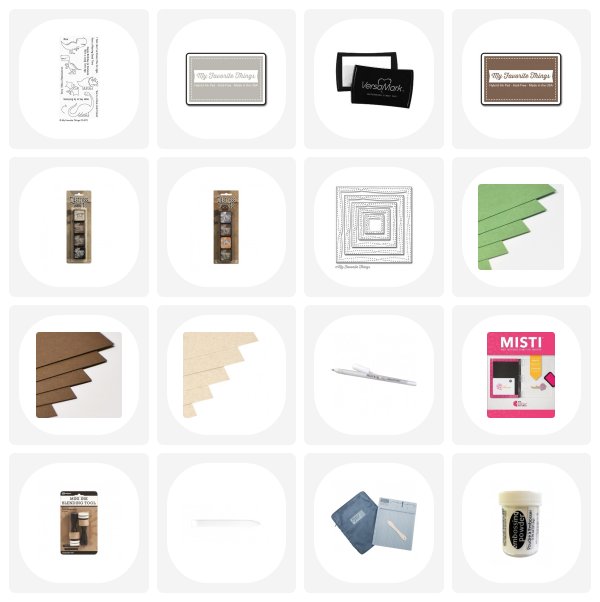
SUPPLIES USED:
(NB some links will not work until day of release)